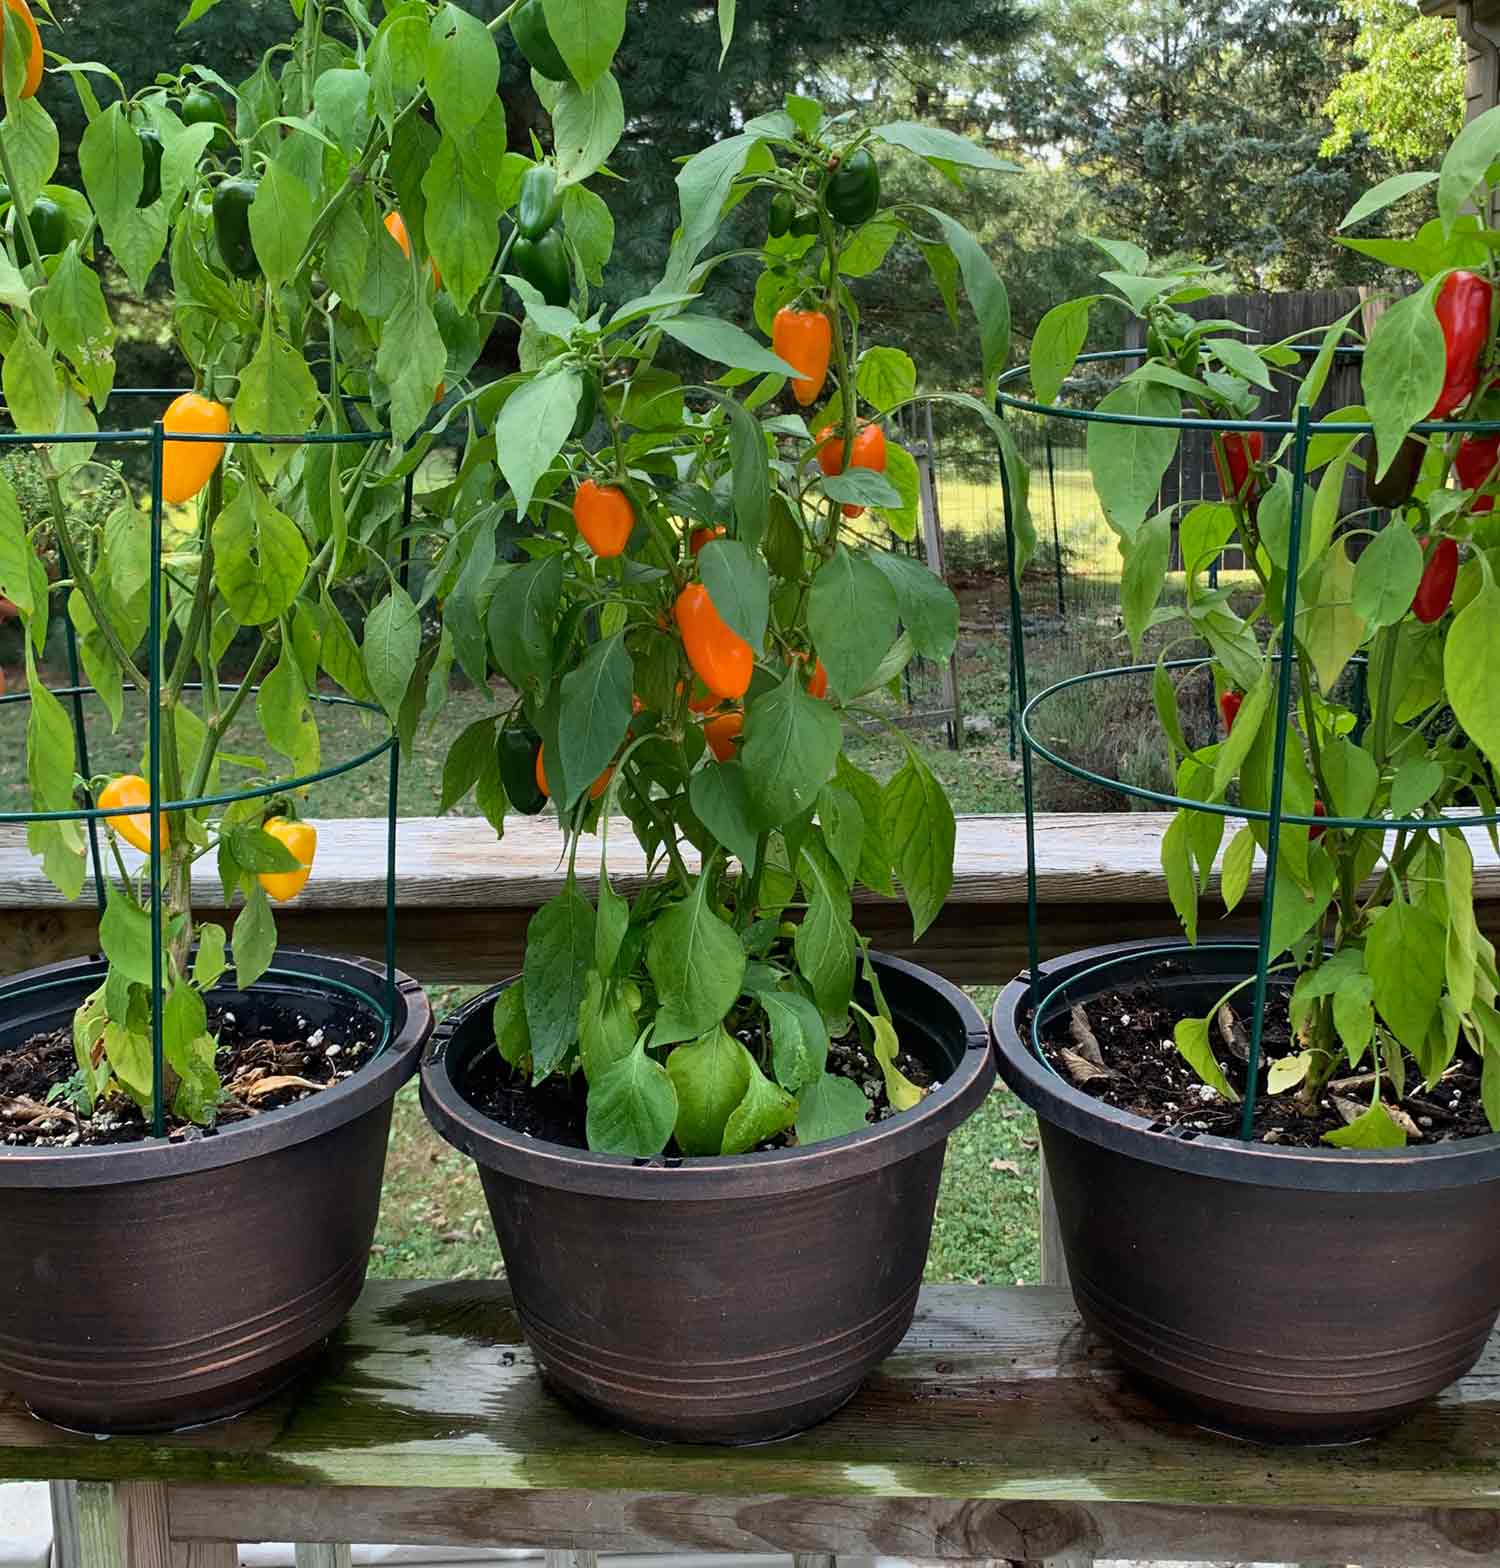
Interested in growing your own vegetables, but don’t have access to a plot of land? Or maybe you’re a beginner gardener who isn’t quite ready to take on a full-scale garden. Whatever your situation, vegetable container gardening might be the perfect solution for you! Growing herbs and vegetables in pots allows you to produce your own edibles in a small space, such as a sunny balcony or patio, using containers like pots, buckets, storage tubs, and raised benches.
.
Not only is container gardening a great way to get your feet wet in vegetable gardening, but it also allows you to enjoy the satisfaction of having fresh, homegrown produce all season long. In this blog post, I’ll cover everything you need to know to get started with herb and vegetable container gardening, from choosing the right containers and soil to selecting the best vegetables for your container garden and caring for your plants throughout the season.
I’ve had container gardens at two residences now. The first was at my apartment in grad school, which had a southeast-facing balcony. Not perfect, but had just enough sun to produce a bountiful harvest of bell peppers and a lone cherry tomato plant.
The second is at my current home. When I first moved here, my backyard had plenty of sunlight near the house for a nice, sizable garden, while the rest of the yard was shaded with trees.
But, around year ten or so, the line of robust pine trees that edge the property began obscuring all of the sunny patches in the yard. After a very dismal tomato harvest one year, I had to acknowledge that backyard gardening was pretty much over, unless I wanted to spend thousands of dollars on complicated tree removal (which I didn’t).
That is, except for my deck. The deck off of my house has full sunlight all day long, with no threat from trees … and plenty of room. So, I moved my garlic, onions, some tomatoes, and the big vining crops — winter squash and sweet potatoes — to space in a nearby community garden, and almost everything else to my deck. I have a few sunny spots that are now the permanent home to my perennial herbs.

Eureka. The best of both worlds.
Note that garlic, onions, tomatoes, and vining crops absolutely can grow in containers. I just have the good fortune to live right next door to a community garden with spacious plots, and I’m happy to be able to connect with other gardeners every day like that.
This is a long article, so please take advantage of the Table of Contents above and other jumps links throughout to help you get to the information that interests you the most!
Benefits of Vegetable Container Gardening
I could talk about growing vegetables in pots for days (and judging by the length of this article, I have lol). While there’s nothing quite like wandering through row after row of plants in a large plot in the early morning sun, coffee in hand, inspecting the results of the previous day’s growth, I’ve developed an enormous appreciation of having potted plants on my deck, right outside my kitchen door.
Here are a few of the significant benefits of container gardening:
Efficient Use of Space
Container gardening is ideal for those with limited outdoor space, such as urban dwellers, apartment residents, or homeowners with small, shady yards, or land with poor soil.
By taking advantage of open space on a sunny balcony, patio, or deck, you can still enjoy an abundant harvest of herbs and vegetables. I’ll put containers anywhere: on an outdoor windowsill, in a hanging basket, on the deck or porch rail.
Some years ago, my brother built me this beautiful raised garden bench, where I plant lettuce greens and annual herbs. It’s absolutely my favorite gardening thing in the whole world.

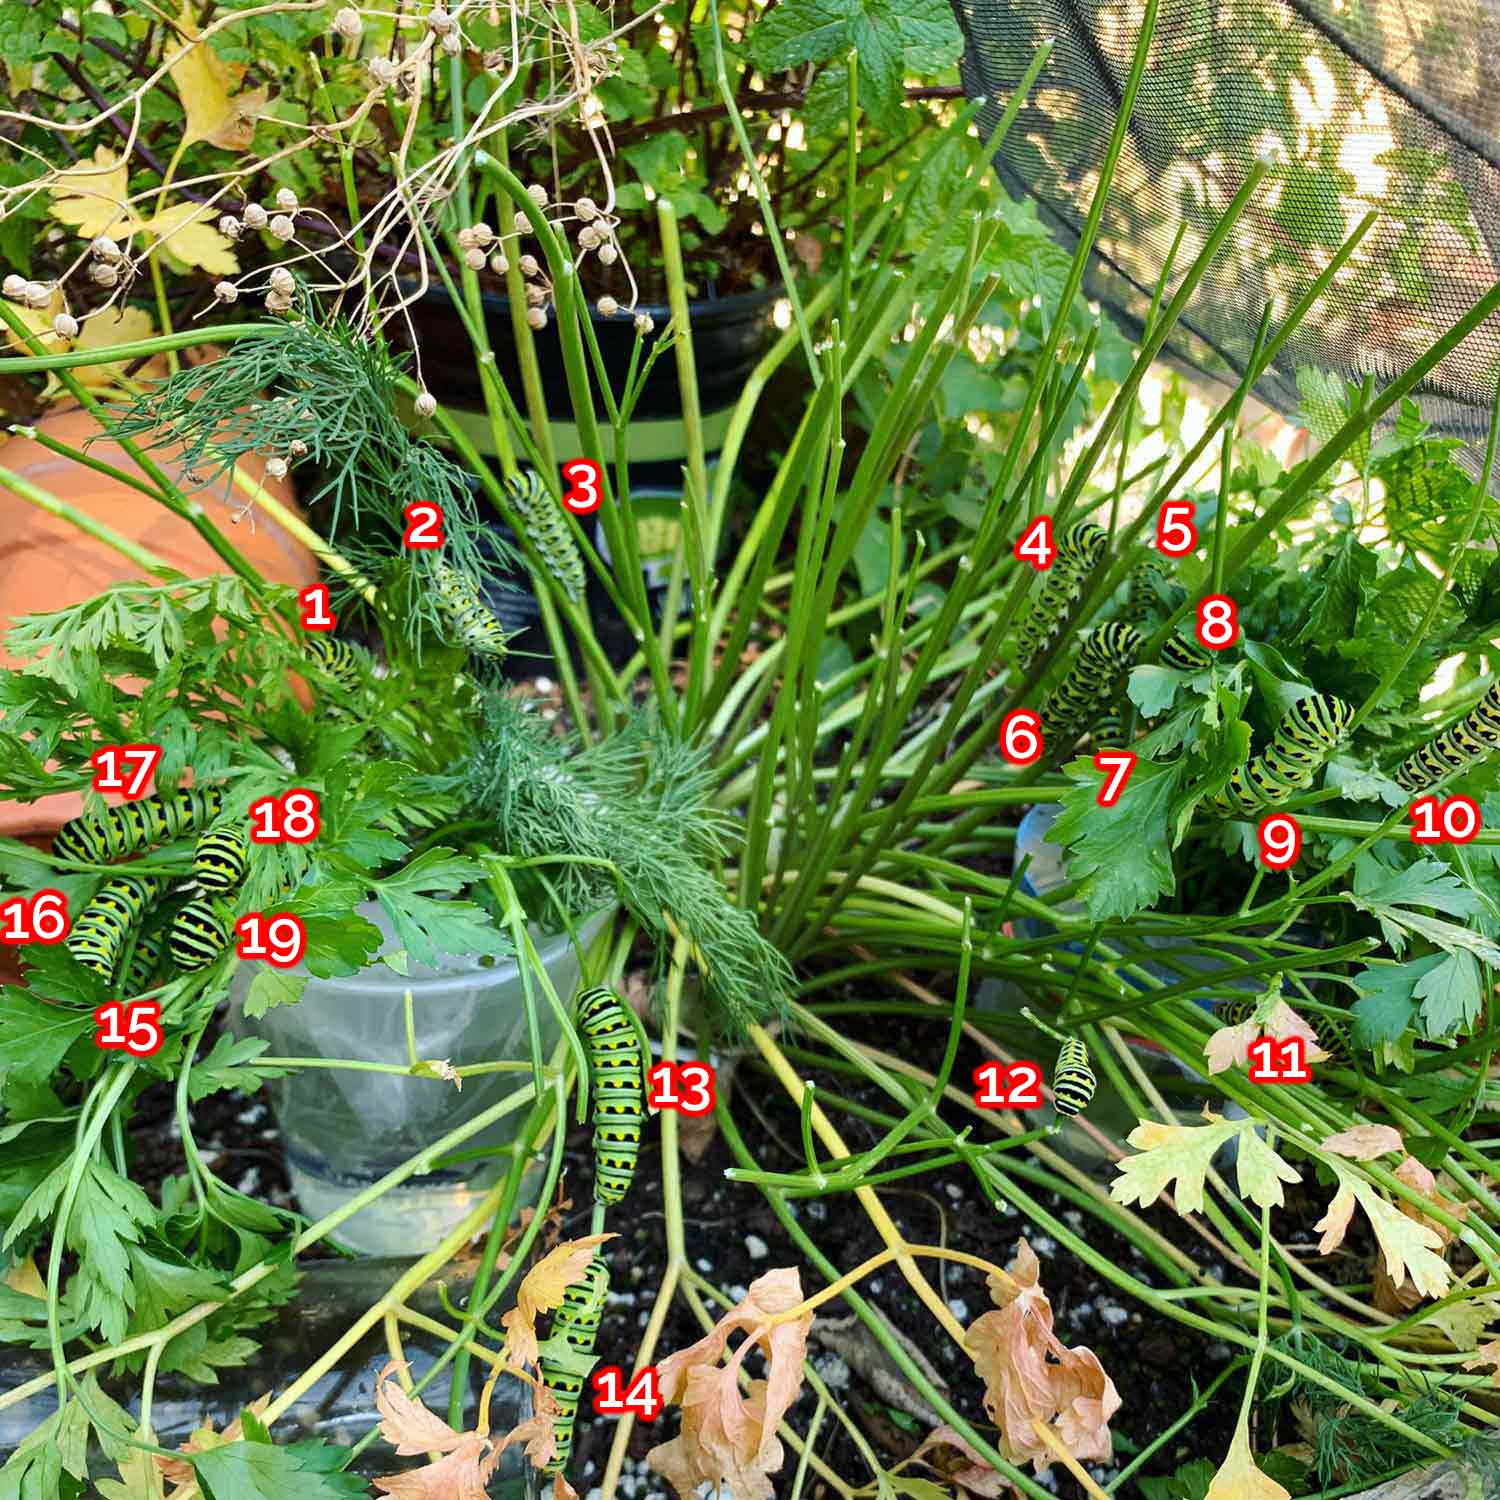
Side story: One season, a Black Swallowtail butterfly laid eggs all over my dill and parsley plants on that bench, and I was treated to this amazing spectacle:

Yes, of course, butterflies lay their eggs in gardens all the time, but these caterpillars would not have survived out in the bird-heavy environs of the yard. They were protected from predators by the shade screen I keep draped over this bench.
So, yes, I give all credit to container gardening for that gift during a pandemic when we needed all the beauty we could get!
Environmental Optimization
Planting your herbs and vegetables in containers allows you to control their environment to a greater degree than plants in the ground.
Some plants, such as celery, benefit from partial shade during the day, and I can reposition the pots as needed. Others, such as tomatoes, need full sun at all times. During heavy periods of rain, it’s easier to protect vegetables in pots from becoming waterlogged for days.
And of course, preventing damage during severe storms is much easier with container gardens. I’m very far inland in the U.S., but in 2008 the remnants of Hurricane Ike blew through, knocking out power to the county for 5 days straight days, and heartbreakingly decimated a few of my September-tall tomato plants.
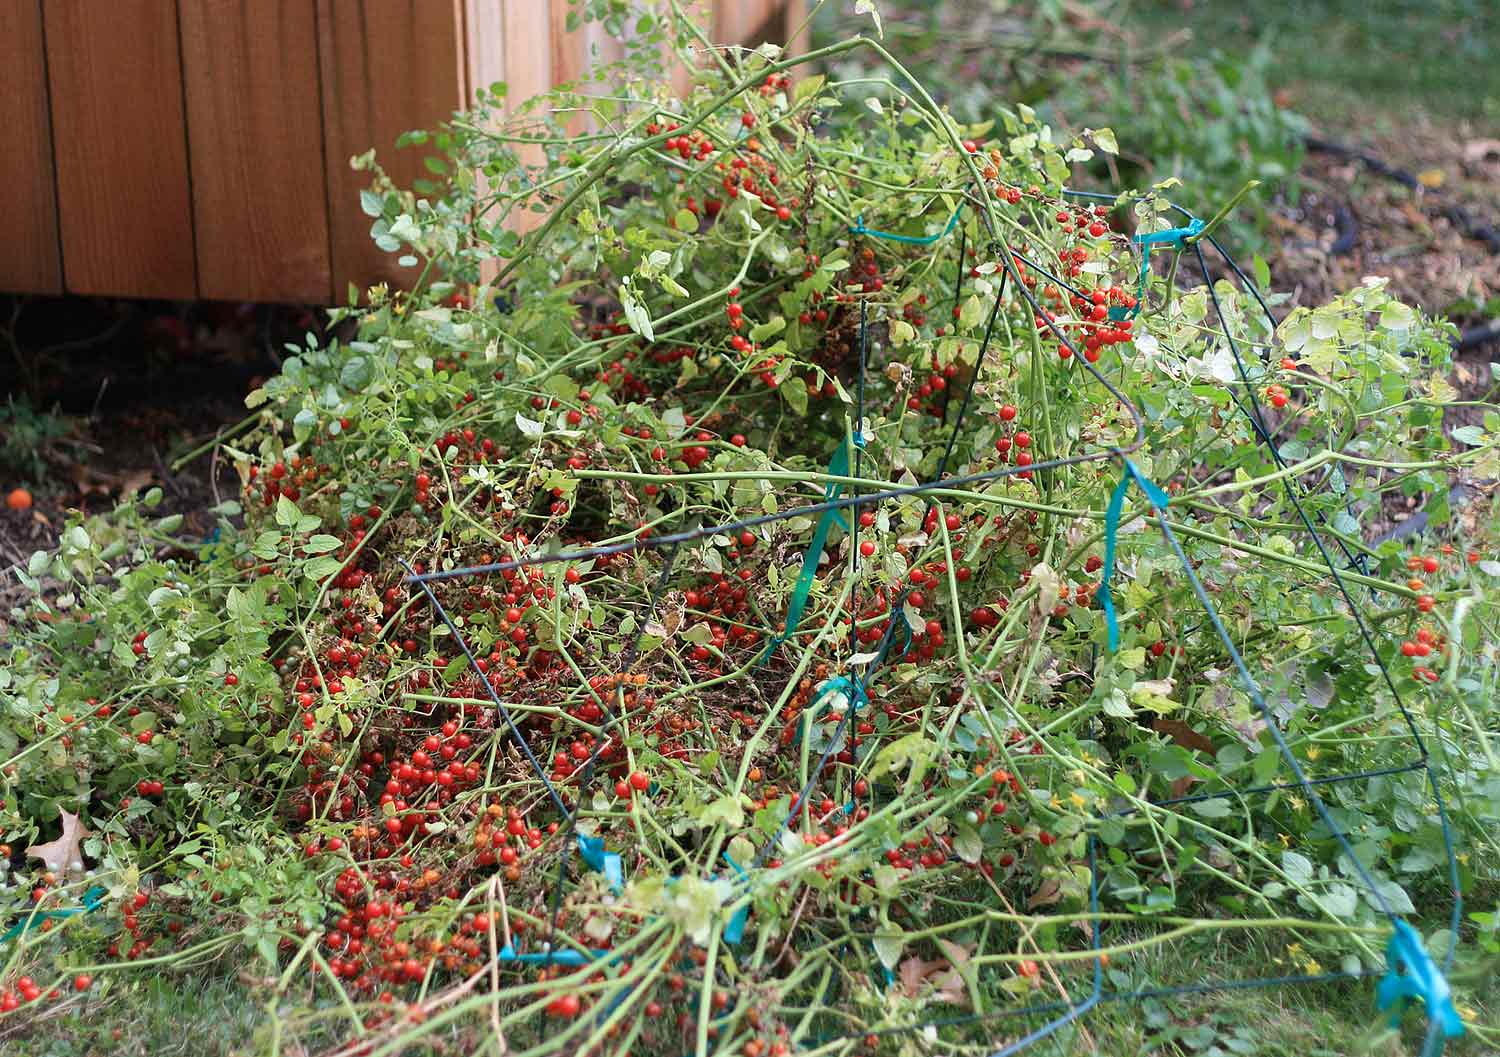
There was no way to sufficiently stabilize this plant against wind shear out in the yard, but in a container on my deck, I would’ve had several options. (I was lucky: being a home gardener meant I just lost a few plants. Some corn and tomato farms nearby lost their entire crops — and revenue — for the last half of the season.)
Accessibility and Container Gardening
When I first started container gardening in earnest, I was young and hardy and wasn’t even thinking about accessibility as a factor in gardening.
Today is a different story, lol. I’ll spare y’all the deets and just say that I greatly appreciate being able to remain fully vertical during my gardening tasks, from planting to watering to harvesting and clean up.
In fact, container gardening opens the door to people with a wide variety of disabilities, from back injuries to people using supportive devices to walk (e.g., canes or walkers) to people needing wheelchairs or scooters.
I highly recommend that everyone set up a potting bench of some sort. Even if it means just commandeering some space on a table in your garage.
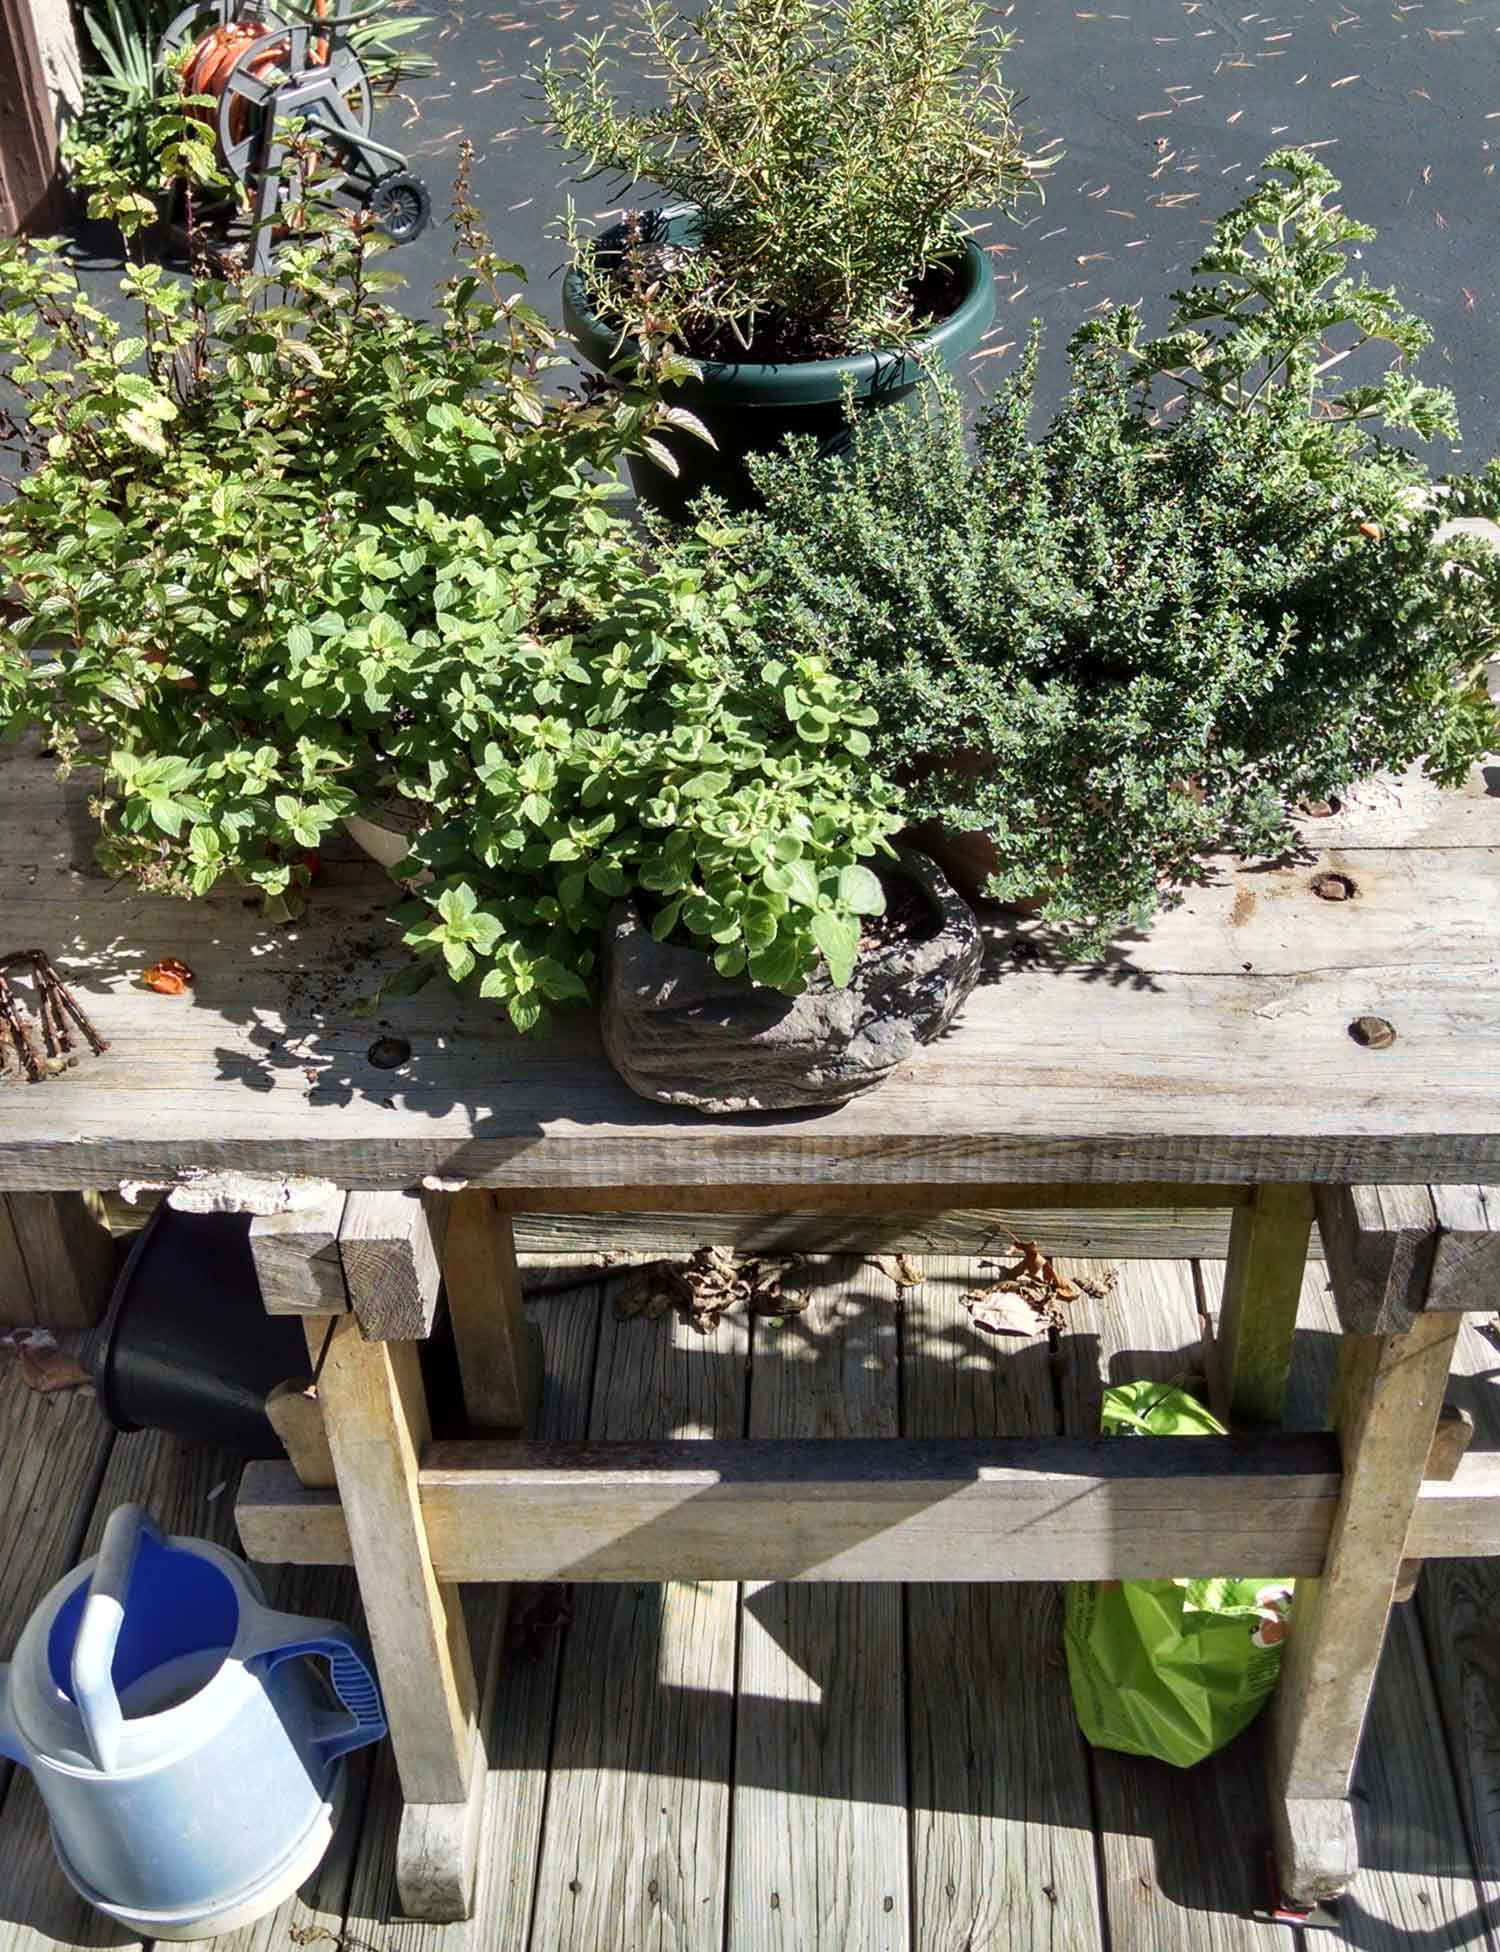
Thirty-year-old me could pop up and down off the ground in the blink of an eye, but fifty-something me has to use awkward maneuvers that would probably go viral on TikTok.
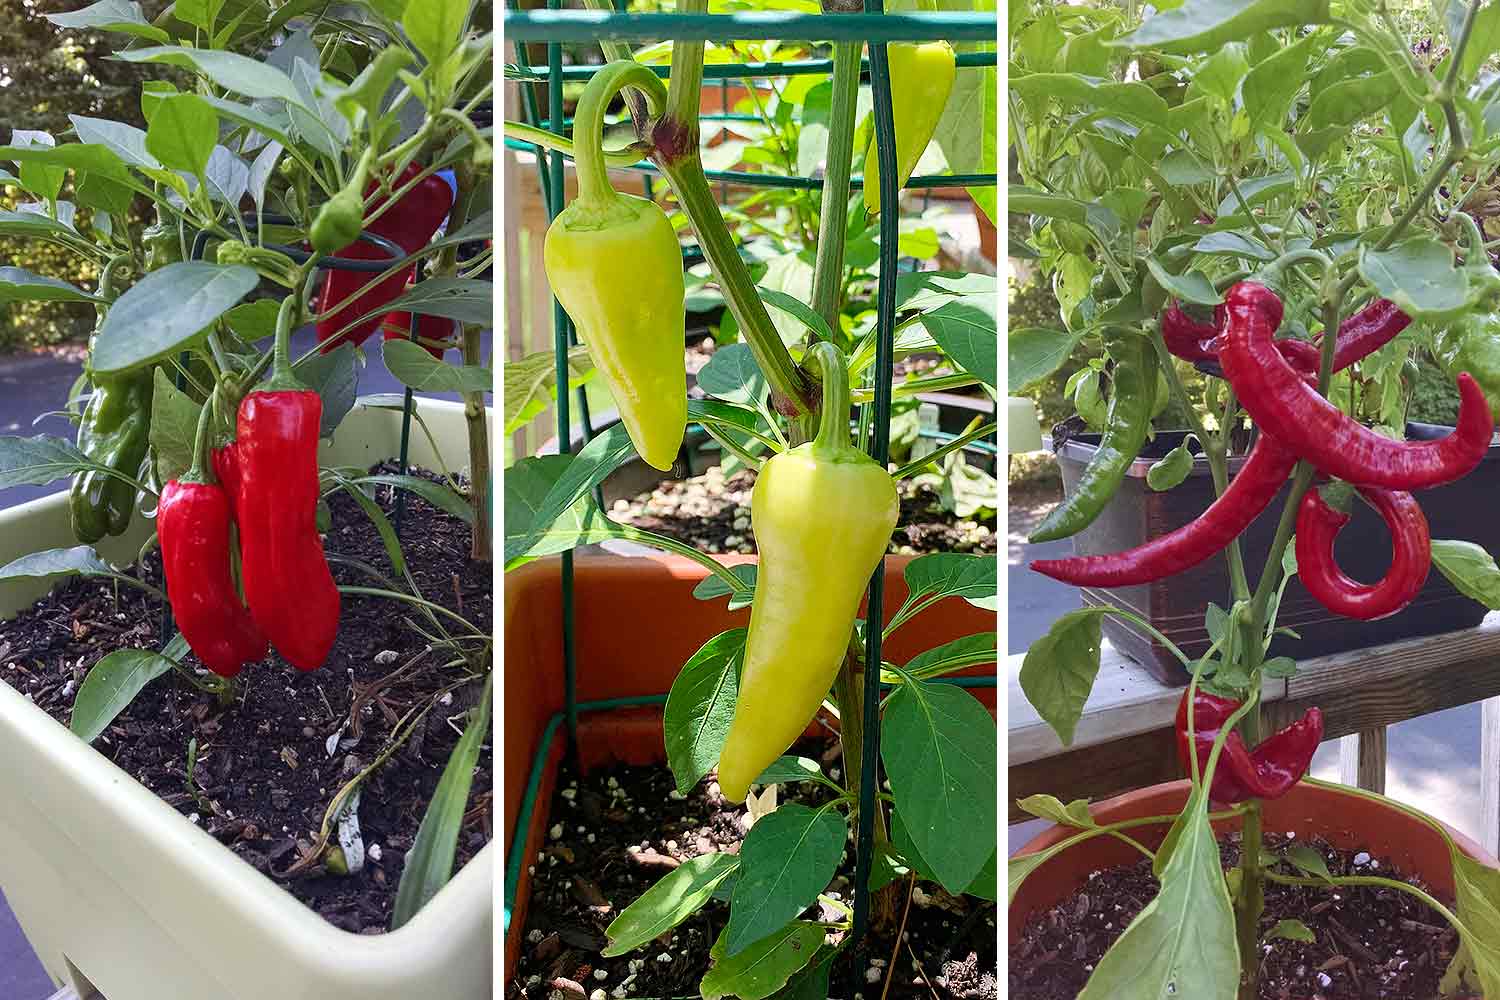
To help reduce reach and bending over challenges, I also recommend buying small plant stands to set some of your smaller pots on. All of my peppers, green beans, and eggplants are elevated.
They come in various heights and styles. The one below is cast iron and doesn’t tip over.

Soil Control
Using a container allows you to customize the soil mix specifically to the plants you’re growing, ensuring they receive the appropriate nutrients and drainage. This level of control is especially helpful when the soil on your property is not ideal for gardening. I’ll cover soil mixes below in more detail.
It also helps mitigate soil borne-diseases that greatly impact plants like tomatoes and potatoes. Once bacterial wilt gets into the soil, you’ll be struggling with it for years to come. In container gardening, if one of your plants does come down with something like wilt, you can simply discard the potting soil along with the plant and decontaminate the pot — problem solved.
Fewer Pest Problems
Container gardening doesn’t necessarily prevent pest infestations, but being up close and personal to your plants means that you can spot problems, such as an aphid infestation, before they swing out of control.
Aesthetics and Versatility
It might just be the vegetable gardener in me, but I think that vegetables are beautiful and decorative and are completely underappreciated in the landscape. I love my deck when it’s packed with vegetable plants.
I also include colorful pollinator flowers in the pots, scattered amongst the vegetables, such as zinnias and echinacea.

My deck is also where I’ve experimented with atypically Midwestern or exotic edibles, such as ginger, galangal, and lemongrass.
What herbs and vegetables thrive in container gardening?
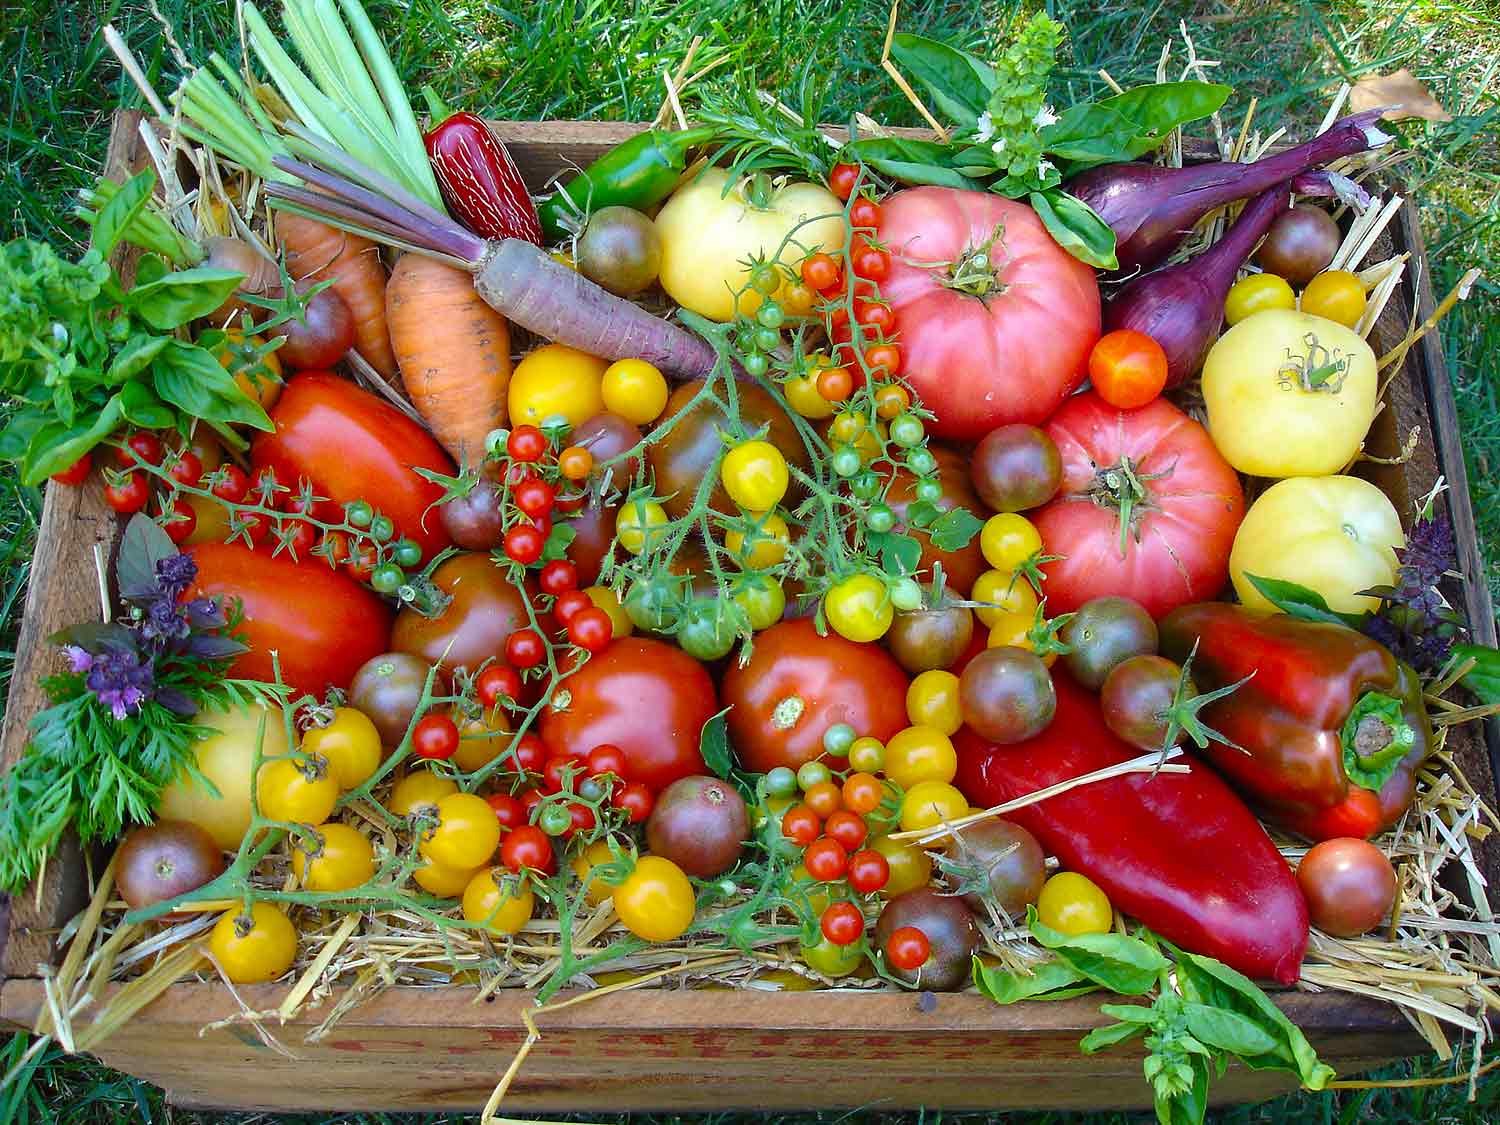
You might be surprised to know that most vegetables and herbs do very well in pots. Their overall growth and output might be lower because vegetables are heavy feeders and zap nutrients from the soil pretty quickly, but they still produce plenty of goods for a couple or small family.
Here’s a non-exhaustive list of edibles that I’ve grown in containers:
Vegetables:
Tomatoes
Peppers
Eggplants
Cucumbers
Radishes
Potatoes
Garlic
Carrots
Green beans
Peas
Onions
Green onions
Ginger
Lemongrass
Lettuce greens (including arugula, mustard greens, leaf lettuces and more)
Spinach
Kale
Swiss chard
Herbs:
Basil
Parsley
Mint
Thyme
Tarragon
Oregano
Marjoram
Rosemary
Sage
Chives
Cilantro
Culantro
Chamomile
Lemon balm
Bay leaf

What is a good soil mix for container gardening?
This is one of the few disadvantages of container gardening, I have to say. Many, many years ago, commercial soil mixes were actually pretty decent, and you could buy bags from the local garden center with complete confidence that your plants would be in good hands.
But time and capitalism have not been kind. The potting soil mixes available today leave very much to be desired. Occasionally, I might find a brand with a beautiful mixture, and breathe a new loyal customer’s sigh of relief, only to discover the following year that they’ve succumbed to … whatever pressures cause them to willingly sink their quality into oblivion.
I could go on and on about this topic, but I’ll cut right to the chase. Here’s the DIY soil mix that I use in all of my vegetable pots:
1 part potting soil
1 part compost
1 part peat moss
1 part perlite
Handful of Plant-tone
By “part” I simply mean some volume of measure. It doesn’t matter what it is and it doesn’t have to be precise, because you need to fill your pots with soil, whatever the final amount is.
Use a food storage container or a large, handled mixing bowl from the kitchen or an extra large scoop as the “part” and measure out each component with that tool into a large bucket or storage tub. Mix well, and then scoop into your pots.
All of these components, including compost, can be found at your local garden center or home improvement store. Potting soil and compost are most economically purchased in large, awkward bags. Potting soil and peat moss can be found in large, medium, or small bags. Perlite and Plant-tone are usually packaged in smaller bags and might be shelved elsewhere, with the fertilizers.
Herbs are less fussy, and I usually use mostly potting soil with some peat moss and perlite worked in.
What about moisture control potting soils? I’m conflicted about these products. They do work well for container gardening, as one of the biggest challenges to growing healthy plants is keeping up with water requirements. Vegetables in containers are thirsty, and moisture control soils do retain water quite well.
My objection is that the companies that produce moisture control soils also add fertilizers that I personally do not use, because I maintain fully organic gardens.
However, if you’re new to vegetable gardening, and are not concerned about organic products, a moisture control soil is not the worst choice you can make.
What kind of containers should you use?
Ah, one of my favorite questions about container gardening! There are so many options, I couldn’t begin to cover them all, but let’s touch on the highlights.
Drainage holes
When choosing a container of any size or material, make sure there are drainage holes — or that the container is made of a material where you can create drainage holes yourself. So when you’re at the store looking at the endless shelves of decorative pots, just make sure there’s sufficient drainage.
I do not recommend so-called “self-watering” pots, which store water at the base of the plant, where you can’t see it. These pots fail in both directions: they give plants “wet feet,” retaining too much moisture during wet weather, but they also dry out more quickly than expected, giving you a false sense of security that the plant is being watered when it’s not.
If your container has large drainage holes, you can semi-plug them with a pebble, before adding your soil mix to the pot. If I have extra window screen cloth lying around, I’ll cut a piece to shape and line the bottom of the pot. Both prevent soil from falling out of the hole as the season wears on.
Clay/terracotta vs. plastic
Also be aware that the pot material matters. Terracotta is beautiful and natural, but you’ll have to stay on top of watering, as water leeches out and evaporates in a way that doesn’t occur with plastic.
I’m not saying plastic is better! Only that terracotta will probably need extra attention at the height of the summer’s heat.
I’m also not saying that plastic is bad! On the contrary, I use plastic buckets and totes for larger plants, and they work very well.
Containers for large plants
When it comes to large growing plants, such as tomatoes, my go-to containers are large storage tubs. Yes, storage tubs! They’re incredibly sturdy and roomy. They’re low to the ground, so they won’t tip over.
They have built-in handles on the sides, so they’re easy to maneuver. And it’s no problem to drill drainage holes in the bottom. They’re also quite economical, when compared to large containers you’ll find at the garden center.

I also like the tubs because there’s plenty of room to sink trellises or other supports into the soil, for tall growing plants, like tomatoes.
Saucers
You can use saucers to protect the surfaces where your plants are sitting, and to hold extra water that the plant can use throughout the day.
Saucers are not strictly necessary, though, and I only use them for plants that sit on my deck rail. My larger containers, such as peppers, eggplants, beans, and tomatoes, do not use saucers.
One thing to watch out for: During periods of long or heavy rains, make sure you dump the water out of the saucers. Some plants, especially herbs, do not like to be soaked for long stretches, and allowing water to remain in the saucer only extends the time before the plant can dry out to normal moisture levels.
If your plants’ leaves are yellowing and limp, overwatering might be the culprit.
Rocks
For plants that grow tall but not wide — peppers, green beans, eggplants, etc. — they’ll reach a height later in the season that can throw the whole works off-balance. Especially during storms.
For those plants, I add a 1/2″ layer of pebbles to the bottom of the pots when planting. You can purchase small decorative pebbles at most home improvement stores.
Not only does this help with moisture retention and drainage, but it also adds weight to the pot and helps to keep it upright when conditions are windy.

Watering
The most relentless challenge you’ll have with container gardening is keeping up with watering (unless you live in a rainy zone).
Plants in containers dry out faster than their counterparts in the ground because they have less protection from the heat of the sun and less soil surrounding them to retain moisture.
Water your plants early in the morning, filling the pots until water drips out of the drainage holes. During periods of high heat, check the plants throughout the day, if you can, and give them an extra sip if the top 1″ of soil has dried out.
Ollas
One of my favorite water management techniques in container gardening is using ollas.
Olla pots are an ancient and effective irrigation method that provides numerous benefits to vegetable container gardening. These unglazed clay pots, buried in the soil and filled with water, allow for the slow release of moisture directly to the root of plants. This not only conserves water but also ensures that your plants receive a steady supply of hydration, minimizing the risk of over- or under-watering.
Incorporating olla pots in your container gardening can save you time and effort by reducing the frequency of manual watering. To use an olla pot, simply bury it in your container with the top exposed, fill it with water, and let the natural porosity of the clay gradually release water into the surrounding soil.
The plants’ roots will naturally grow towards the moisture source, ensuring efficient water absorption. Be sure to refill the olla pot as needed, and cover the hole or opening to reduce evaporation and prevent insects or debris from entering the pot. Olla pots are an eco-friendly and low-maintenance way to keep your container garden healthy and thriving while promoting sustainable water usage.

I use them on my big plants, such as tomatoes and peppers, and rest easier knowing that they won’t dry out on those blazing, super hot days when I know everything is drying out like the desert.
Where to get ollas? Your best bet is an online source like Etsy or Amazon. Unfortunately, the garden pot-making industry has not yet fully embraced ollas, so availability lies mostly with the talented folks who make them by hand. Which makes them expensive. (At least for a garden’s worth.)
You can, however, make your own ollas, with economical supplies available at the garden center. This is what I do, and my ollas are very sturdy and have lasted many years.
Fertilizing
Another task you have to stay on top of is the regular fertilizing of your vegetables. Vegetable plants are hungry feeders, and they’ll grab all of the nutrients out of the soil in the pot pretty quickly.
I maintain organic gardens, both in the ground and in containers, so I use fish emulsion and side dressings of Plant-Tone as needed throughout the season. You don’t need to get fancy, unless you want to: A balanced, general vegetable fertilizer will serve your container plants well.
I find that applications of fertilizer every other week or so is sufficient to keep everything humming along, unless there’s a stretch of heavy rains, when I’ll fertilize everything as soon as it stops to replenish the soil.

I hope this guide has encouraged you to try container gardening and that the tips within will help produce a beautiful and satisfying harvest of herbs and vegetables.
Happy patio planting!

P.S.: Did you count the caterpillars? There are 19!

 Welcome! I'm Karen, Chief Gardener, Tool Cleaner, Tomato Pruner, and Cabbage Worm Picker-Offer.
One summer I had a Swallowtail flitting around my dill plant. I felt my mother sent it, because dill was one of her favorite (and also mine) herbs. I didn’t know at the time that swallowtails favored dill. That butterfly was not intimadated by my presence. I was away when the caterpillars appeared and still had no clue. After I came back from my trip, I saw that my dill plant was devastated. Of course, I had to look up what might have happend and discovered the preference of swallowtails. It made me happy, rather than sad. And my dill plant came back even fuller than it had been! I had always hoped some of those swallowtails would come back. Maybe the birds got at those caterpillars? My garden is a container garden, so I am going to plant a lot more dill this year and see if I can offer those babies some protection. Thank you for the information and pictures.
I’m always okay with losing some plants to the butterflies. Thank you for sharing your story <3