Garlic lovers, unite! Growing garlic in the home garden is a wonderfully rewarding experience, and this article shares best practices for cultivating a thriving garlic crop, focusing on essential aspects such as mulching, watering, fertilizing, and weed control. By following these expert tips, you’ll be well-equipped to grow a healthy, bountiful garlic crop that’s both beautiful and tasty.

In a previous article on this blog, I covered how to plant garlic in the fall for an early summer crop.
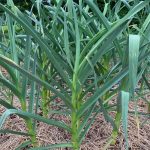
Now that your garlic, which you’ve been patiently anticipating for months, has sprouted into lovely little green shoots, it’s time to step in and give them a boost!
Happily, garlic is one of the least fussy plants to grow in your home garden, but just a little tender loving care can help ensure a big, healthy crop.
Tips for Caring for Garlic for a Beautiful Harvest
I’ve grown garlic in my home garden for over 15 years, and it’s one of the most satisfying crops I’ve ever experienced. Tomatoes are my first love, I admit, but garlic is hardly short on charm!
I love the fact that it has a continuous cycle of use, from planting cloves from last year’s crop to tending to the plants to enjoying the bonus scapes to harvesting, curing, and storing the bulbs, and then planting all over again. Not to mention all the eating in between!
These simple best practices and tips for growing garlic will help you produce a healthy and robust crop of garlic, year after year.
1. Mulch the plants
Adding a layer of mulch around and throughout the garlic bed. By mulch, I simply mean covering the bed with organic material that protects the cloves over the winter and the soil during the active growing season.
You don’t need fancy mulch. In fact, the decorative bark mulch that you find at home improvement stores is not ideal because, while attractive, you’ll end up having to rake it away before planting the next season’s crop, as it doesn’t break down fast enough.
The best mulch for a garlic bed is actually straw. And, if you haven’t already, for your next crop, cover your cloves with a layer of leaf chop topped with straw. If you have trees in your yard, you create your own leaf chop by running a lawn mower that mulches (or otherwise cuts very fine) over them.
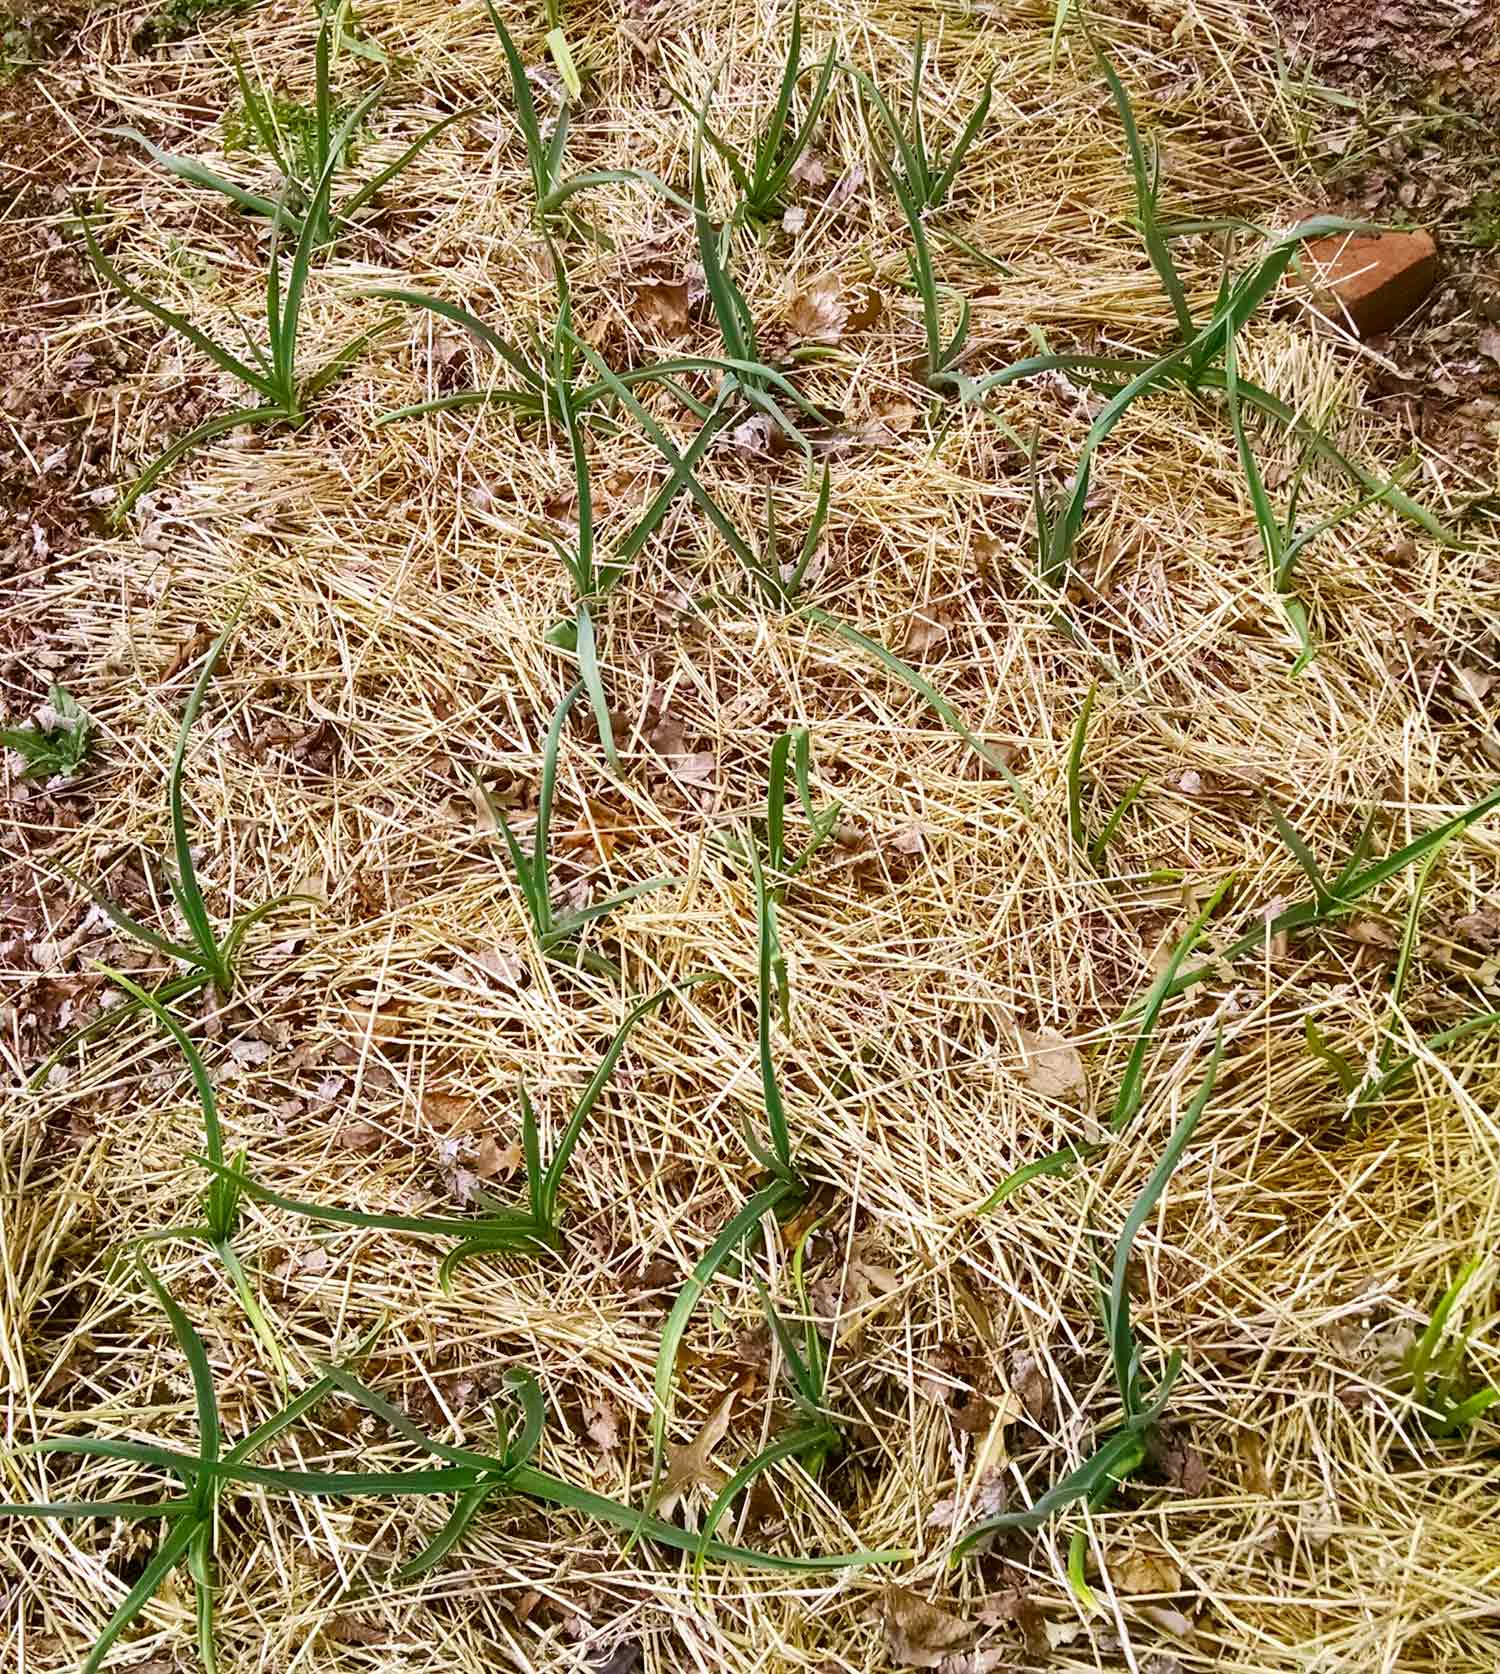
But if you didn’t cover the bed with mulch at planting, doing so when the garlic sprouts are about 6″ tall is great timing. Use pesticide-free straw or organic leaf chop and spread in a thick layer, right up to the garlic stems.
This mulching provides a variety of benefits:
- It helps preserve moisture in the soil.
- It protects the soil from the heat of the sun. This is particularly useful when growing gourmet hardneck garlic, which prefers cooler weather than what some parts of the U.S. receive.
- It suppresses/prevents weeds, which compete with garlic for nutrients in the soil. I have an ongoing problem with thistle because the properties surrounding my own are overrun with it, but thoroughly covering the garlic bed with straw greatly reduces outbreaks.

The photo above shows how I set my freshly planted garlic bed for the winter, with a layer of leaf chop topped with straw.
The leaf chop breaks down over the winter and spring to fortify the soil, while the straw remains intact through the growing season to protect the soil and suppress weeds.
2. Water and Fertilize
Water the garlic bed thoroughly once a week, unless you live in a hotter zone or are having a particularly hot spring. Here in Ohio, we always have a crazy-hot Memorial Day weekend, soaring well up into the 90s, before everything settles down into more friendly June weather.
So while spring here is usually mild and somewhat rainy, I have to pay extra attention to the plants during that hot stretch.
Pull some of the mulch away and poke a finger into the soil. If it’s moist and loamy, everything’s fine. If it’s dry dirt, definitely give the plants a good drink.
Fertilize every other week with a standard blend fertilizer or fish emulsion. You should stop fertilizing when the garlic scapes appear on hardneck varieties (see below), or in general, when the plant is tall and fully developed with long leaves.
3. Remove the scapes
If you’re growing hardneck garlic, keep an eye out in May for a cylindrical stalk that emerges from the central stem. This is the garlic scape and is the flowering head that produces seeds.
Since the gardener’s goal for growing garlic is to produce a healthy bulb — not seeds — you’ll want to remove that scape so that the plant’s energy and nutrients can continue focusing on producing a robust bulb.
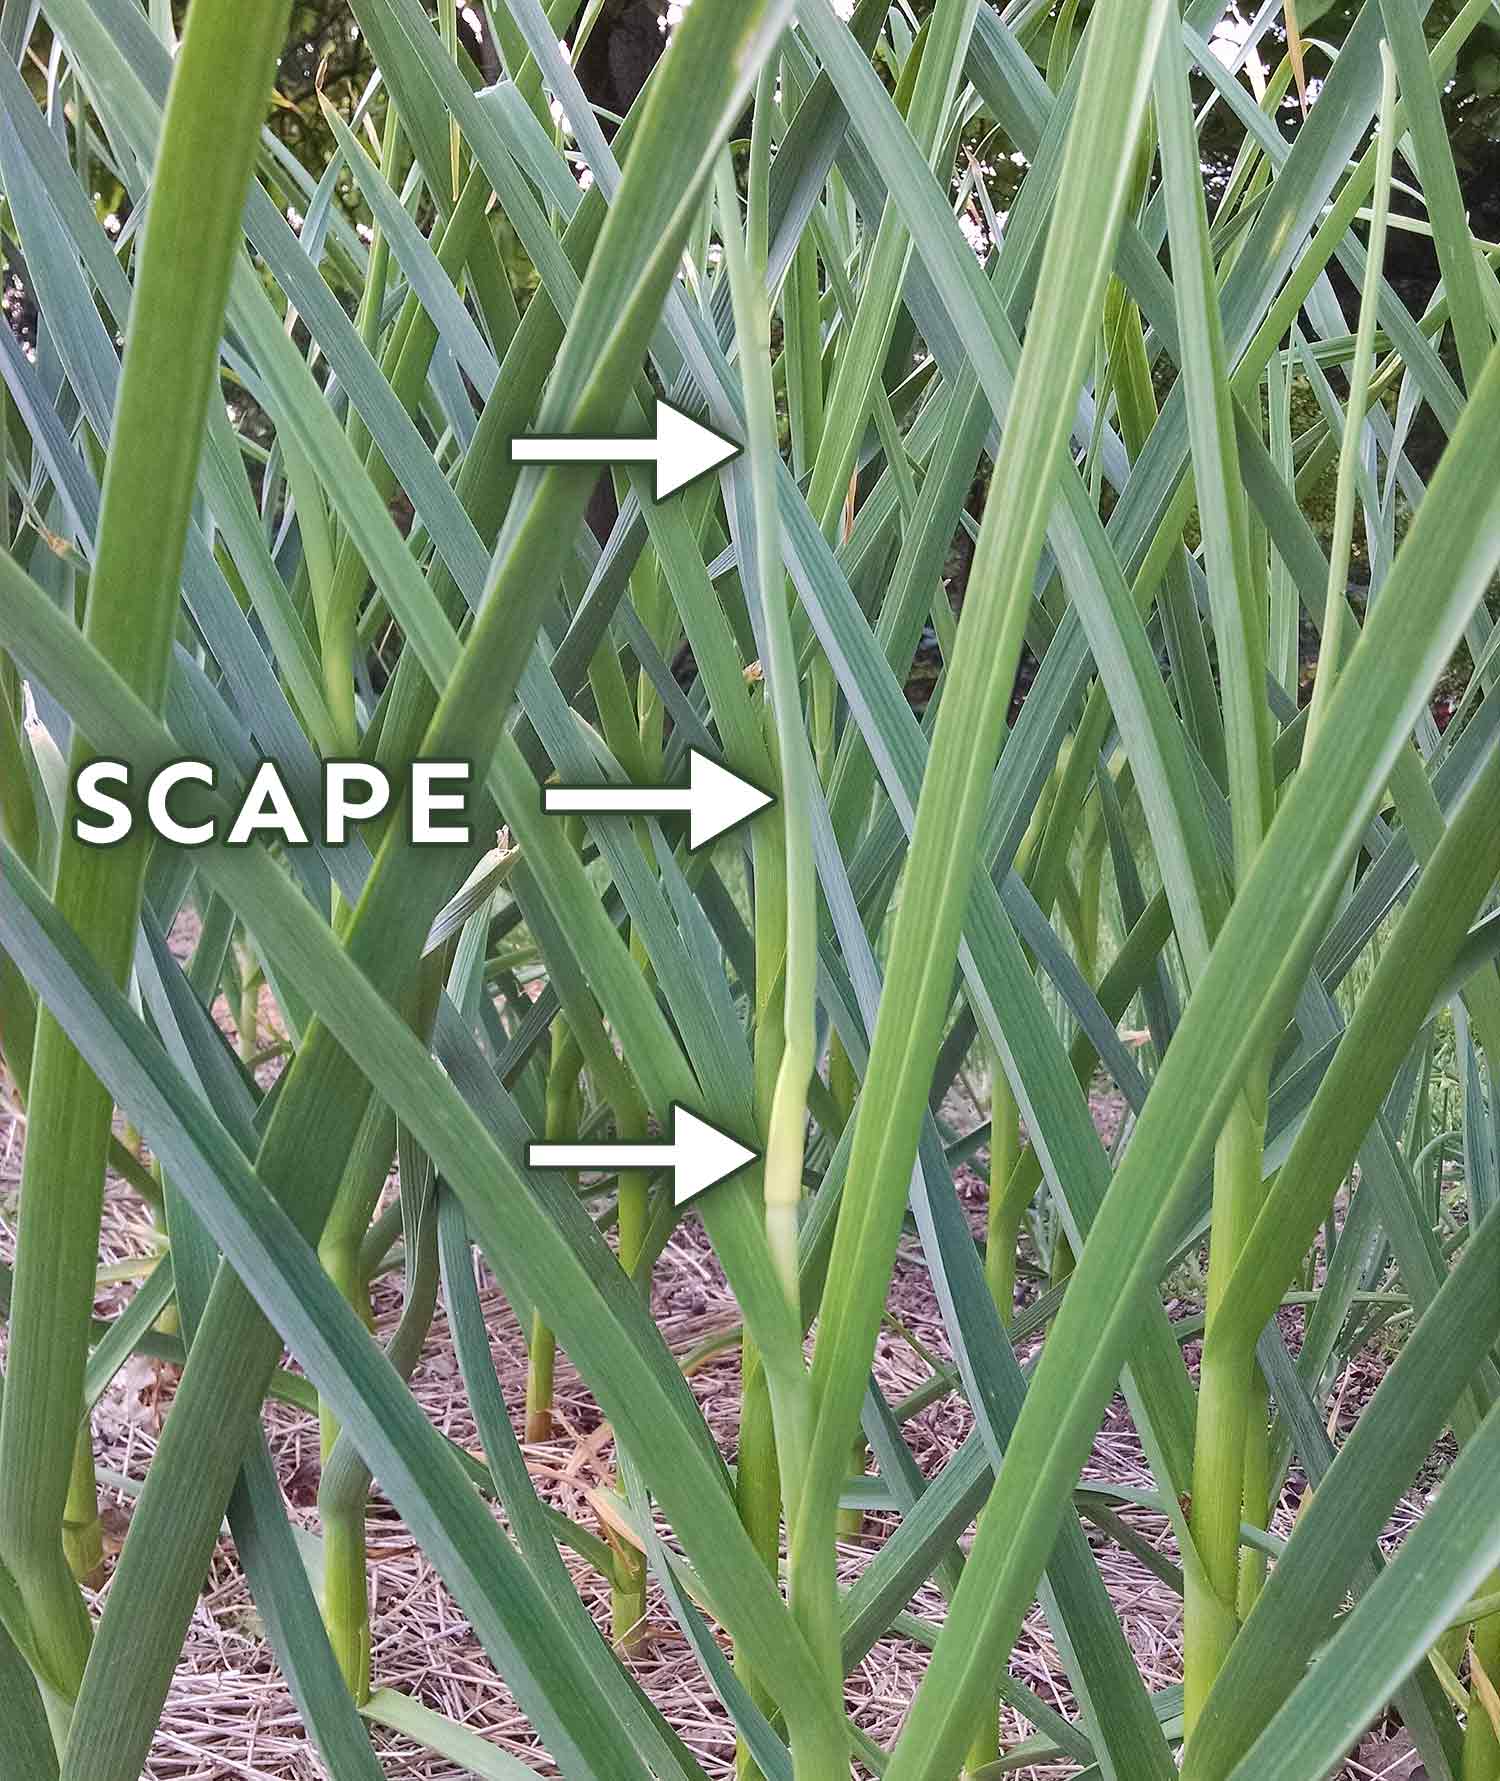
But note that scapes are completely edible — like garlicky green onions by with a firm stem — so enjoy the cook’s bonus while you wait for your garlic to mature.
4. Stay on top of weeds
Although I’ve placed this topic further down the list, it’s very important to frequently weed the bed. Garlic bulbs and their root systems are greedy feeders and should not compete with other fast-growing and similarly hungry plants. Such as weeds.

Mulching helps a lot, but when a weed does sneak into the bed, be sure to completely remove it, roots and all.
Take care when digging around the garlic stems. Depending on the timing, garlic bulbs can be quite large — their root systems are even larger — and can occupy 3 or 4 times the diameter of the stem.
In addition, the bulbs are very, very fragile during this growth stage, so you’ll want to avoid injurying the bulb with a shovel or claw.
5. Monitor for yellowing or browning
Because the garlic bulb grows completely underground, it’s of course impossible to use the bulb as the signal for when to harvest.
Instead, keep an eye on the plant’s leaves. Late in May or into June, you might notice the tips of the leaves starting to brown and dry out, followed by a yellowing of the top halves of the leaves.

This is not a sign of disease or distress, but rather the signal that your garlic plants are nearing full maturity. When the top halves of the plants are yellow and/or brown, they’re ready to harvest!
Don’t wait too long, though! In the photo above, there are three varieties of garlic, visibly separated into bunches. The two on the left were harvested at an optimum time. The variety on the right, however, should’ve been harvested the week prior.
Waiting until most of the plant is brown and dried impacts the quality of the bulbs. They’re still perfectly edible and tasty, but will not (and did not) store well.
Why does this matter? If you’re consuming all of the bulbs by summer’s end, there really is no impact. But, if you were hoping to store the bulbs over the winter and/or use them for planting the next season’s crop, a poorly timed harvest can eliminate that possibility.

I hope these tips for growing garlic will be helpful as we move through garlic season, and that you enjoy a beautiful and tasty bounty!

 Welcome! I'm Karen, Chief Gardener, Tool Cleaner, Tomato Pruner, and Cabbage Worm Picker-Offer.
Leave a Reply