Garlic is one of the most satisfying crops I grow in my home garden. I’ve grown garlic for over 15 years and love to teach new gardeners how to make the most of their crop. In this article, you’ll learn how to plant garlic cloves in the fall for an early summer crop, along with tips and best practices for giving garlic the best head start possible!

When new gardeners ask me for advice on what to plant, I get funny looks when I reply, “Garlic,” rather than tomatoes or peppers or cucumbers.
Growing garlic seems exotic — on first glance, those strange, white, papery bulbs at the grocery give no hint as to their plant origin. Do they grow on bushes? Do they hang from stems? Grow underground? In any event, surely too complicated for the home garden.
But that’s the beauty of garlic: it’s actually one of the easiest crops to grow. You plant in the fall, like you would tulips, and forget about them until spring. From there, maintenance is minimal. Occasional extra fertilizing during leaf growth is recommended, but not required if your soil is good.
Overview: What Happens?
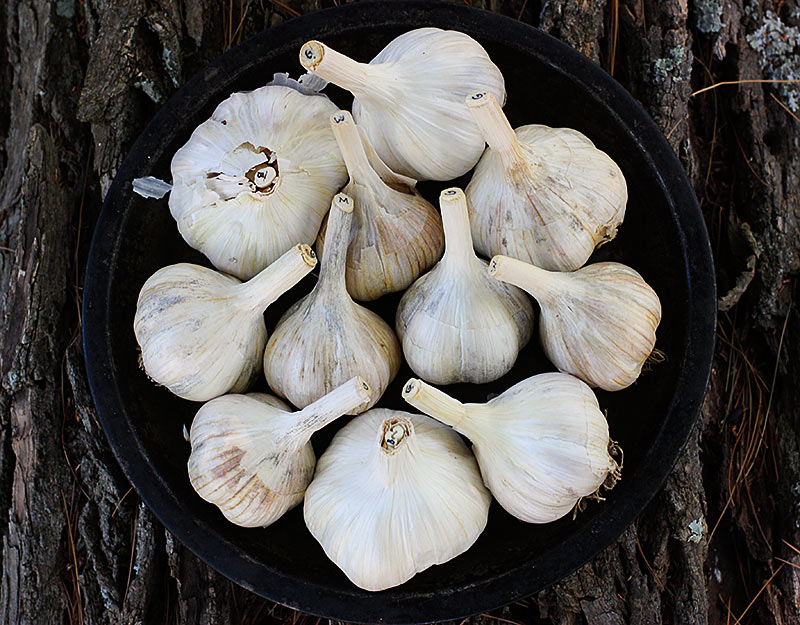
Most home gardeners and farmers plant garlic cloves, the small, individually wrapped pieces that make up a garlic bulb. (You can grow garlic from seed, but there’s no particular benefit to it — garlic bulbs are readily available and are reliable growers.)
So, the very cloves you cook with are the same things you plant. Cool, eh?
Can you plant grocery store garlic? Technically, yes, but I would advise against it (although my very first experiment with garlic was from a bulb I bought at Kroger). Grocery store garlic is often treated with growth inhibitors to prevent sprouting.
Plus, grocery store garlic is bred for sturdiness in transport, not for flavor … and it shows. Once you’ve tried garlic grown for flavor, you’ll appreciate the difference immediately.
Once in the ground, the garlic cloves will spend the winter setting down roots. When the weather and ground warms in the spring, the clove will sprout a stalk of greenery through the soil, which will leaf out to provide nourishment and fuel for the activity occurring underground.


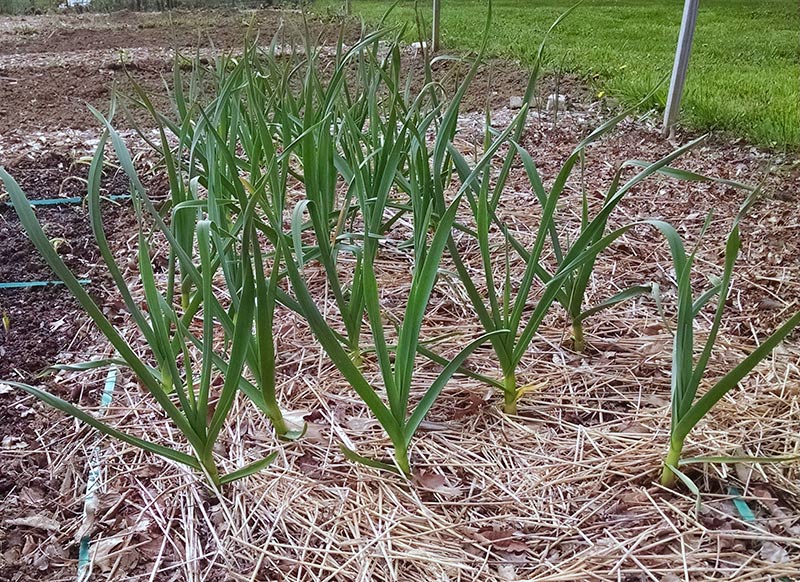
Young garlic plants in the spring. There are 50-some plants in this space (upper photo); note the closely spaced checkerboard planting pattern in the photo above.
The one clove will evolve into a full bulb consisting of many cloves. Some varieties — specifically, hardnecks — send up a flower stalk in May that, if left to its own devices, forms a seed head.
With the goal being a healthy bulb, however, growers remove the flower stalk before the head forms, so that all energy produced by the plant goes to the bulb and not to its natural efforts to reproduce via seed.

That stalk is called a scape, and regular shoppers of farmers’ markets and CSA subscribers have no doubt been introduced to the scape — slender, cylindrical, and twisty, scapes are edible and mildly garlic flavored.
Garlic scapes are a bonus for the garlic grower, and I recommend growing hardneck varieties to take advantage of them. (“Hardneck” garlic is so called because when the base of that flower stalk dries — the bulb’s cloves grow in a ring around that stalk — it becomes hard like a bamboo skewer. Softneck varieties, which include most grocery store garlic, do not produce flower stalks/scapes.)
Let’s get started! Don’t be put off by the length of the instructions here — I’m being thorough. One read-through and you’ll know exactly what to do.
Prepare the location

- Garlic is best planted mid to late fall, before the first deep cold snap freezes the ground solid. Depending on the weather patterns occurring in a given year, this could be mid-October to mid-November. (In 2015, the El Niño system coming in off the Pacific could bring a warmer-than-average autumn — which is so far holding out to be true — so you could probably hold off until November.)
- Choose a location that receives full sun from late winter (March) to early summer (July). Full sun means at least 6 hours of bright sunlight (ideally significantly overlapping or fully within the hours of 11am to 5pm).
- Turn or loosen the soil to an 8″ depth. Garlic has a very large and impressive root system, and loose soil will let the bulbs form their natural shape. You don’t need to till if that’s not your thing; I manually turn my beds with a long-handled shovel.
- Remove weeds or other growth that could reestablish themselves later — garlic does not like to compete with other plants for nutrients, sunlight, and space.
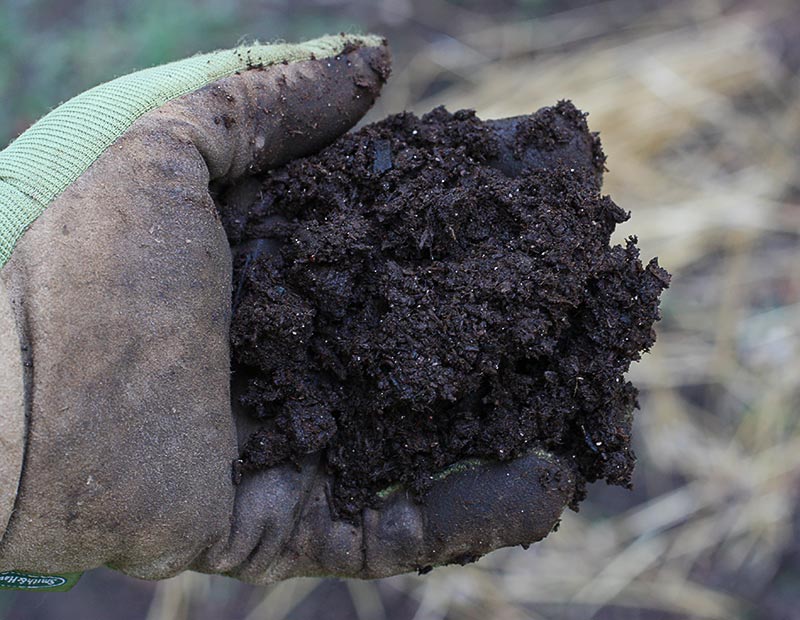
- Add plenty of clean compost to the bed, mix it in well, and level out with a rake.
- Garlic needs a well-draining bed. If you’re not certain, dig a 6″ hole and fill halfway with water. The water should be absorbed into the hole at a good pace. If doesn’t, turn the bed more deeply and add more compost.
- If you have the time, let the bed rest for several days to settle.
Select the bulbs and cloves
- On planting day, inspect your bulbs. Choose the largest bulbs with clean, wrinkle-free wrappers.
- Carefully break apart the bulbs, leaving as much of the wrappers intact around the cloves as possible (it’s okay to discard loose pieces).
- Inspect the cloves and choose the largest among them. If a bulb includes small, slivery cloves, save those for cooking. Cloves should be firm and clean. If there are any signs of rot, discard the clove.
- If you’re growing multiple varieties, as I do, make sure you keep the cloves separated and labeled: It can be very difficult, if not impossible, to tell varieties apart by their wrapped cloves. As I break the bulbs apart, I place each variety’s cloves in a small storage container, labeled with masking tape.
Plant the cloves

- Cloves should be planted at least 6″ to 8″ apart, and deeply enough to be covered with 1″ to 2″ of soil.
- Choose your planting design. You can plant in one of several configurations: long rows with walking room in between; in a roomy square pattern; or, in an intensive checkboard pattern. I plant in a checkerboard pattern, with just 6″ between cloves in all directions. This configuration makes weeding very difficult so make sure you heavily mulch the bed, and also that you’ll be able to reach the plants in the center of the planting (to water, remove scapes, etc.).
- I dig all of the holes first, so I can take full advantage of the space I’ve allotted to garlic, covering over and redigging holes as needed to maximize the layout. I use a soil knife to create a small hole about 4″ deep for each clove.

- Since I plant multiple varieties, once the holes are dug, I divide the bed according to the number of cloves I have for each variety using garden staples and lengths of green stretch tie tape. (Why not natural twine? It tends to break down and fall apart during the winter months, destroying the dividing line between two varieties.) I maintain a planting journal, and I draw a quick diagram of the bed, marking which varieties go where along with their count. Plant labels and row markers have a tendency to disappear during severe weather or get trampled by wildlife walking through the garden.
- Insert one clove in each hole, flat end (root end) down, pointy end up, ensuring that the tip of the pointy end is at least 1″ below the surface (try for 2″). Cover over all the holes with soil and pat down firmly.

Finish up
- Water the bed thoroughly.
- Spread a thick, 3″ to 4″ layer of leaf mulch or straw over the entire bed, from border to border. I prefer straw because it doesn’t break down as quickly and will serve a secondary purpose throughout the garlic growing season by suppressing weeds.

And that’s it! Now you just need a few months of patience for spring.
During stretches of warmth during the winter, the garlic might sprout, sending visible green shoots above the soil. Don’t worry about them — they will die back when the cold returns without harming the plant.
When the weather warms for good in March or April, be on the lookout for those awesome little green sprouts that signal the start of the growing season.

When your sprouts have emerged into healthy plants, you’ll want to review these tips for caring for your garlic to create a healthy, bountiful crop and prepare for harvest in early summer.
I hope this article encourages you to discover the joy of growing garlic in your backyard. There’s nothing like cracking open that first fresh bulb in the summer and taking in that heady fragrance!

 Welcome! I'm Karen, Chief Gardener, Tool Cleaner, Tomato Pruner, and Cabbage Worm Picker-Offer.
Leave a Reply