Tomatoes are one of the most delicious and versatile edibles in the garden, and growing them from seeds indoors gives you ultimate choice for flavor and utility. This comprehensive guide will walk you through the steps for how to grow tomatoes from seeds indoors.

First, let me say that there’s absolutely nothing wrong with buying tomato plants from the garden center. I’ve certainly bought my fair share over the years, especially when making last minute decisions about what to row.
The primary downside is that your choice is limited to what commercial tomato growers believe will sell and can be started on their farms with a minimum of fuss. These varieties are chosen based on factors such as germination rate, disease resistance, hardiness in shipping — things that don’t really have anything to do with flavor and texture.
Growing tomatoes from seed yourself, however, opens a whole new realm of possibilities. There are said to be more than 10,000 varieties of tomatoes around the world, compared to the 10 or 12 you’ll find locally at the store.
It’s not difficult to grow tomatoes from seed. Nature is pretty efficient in making sure its edibles readily reproduce. But you’ll have a much higher rate of success yourself if you create an environment that’s optimal for seed germination. Let’s get started!
Step 1: Choose the seeds
The beautiful thing about growing tomatoes from seed is that you can choose from an almost endless variety of tomato types and flavors. The main decision you’ll make in selecting seeds is whether you want to grow indeterminate or determinate varieties (or both!).
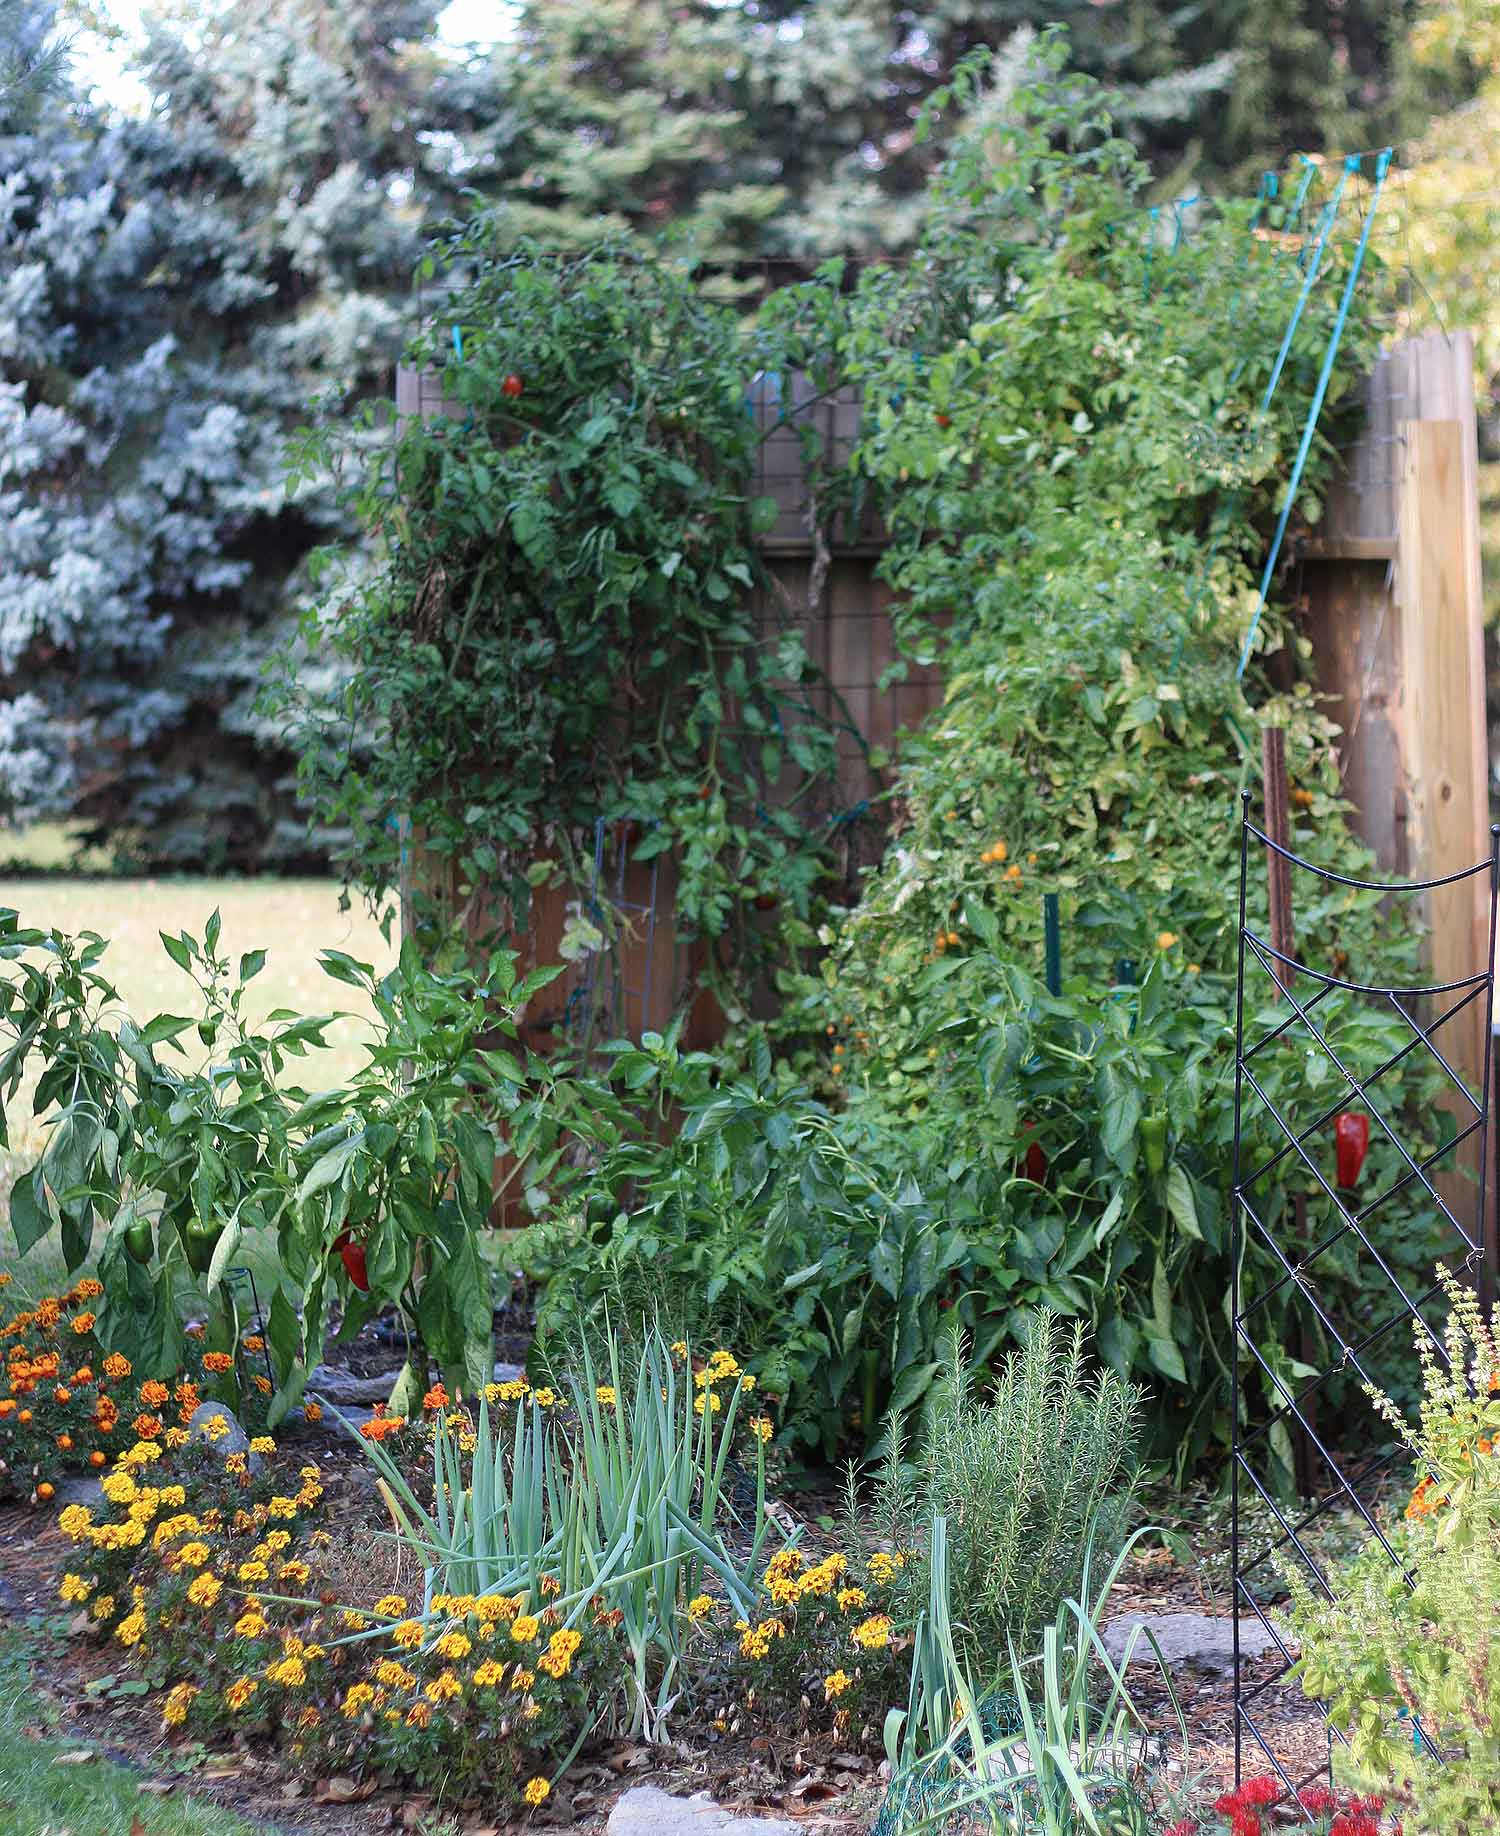
Indeterminate tomatoes have wild spirits and will grow and grow until disease or weather kills them. They flower and set fruit throughout the growing season so that you have a constant and staggered supply of ripe tomatoes to harvest from about July to frost.
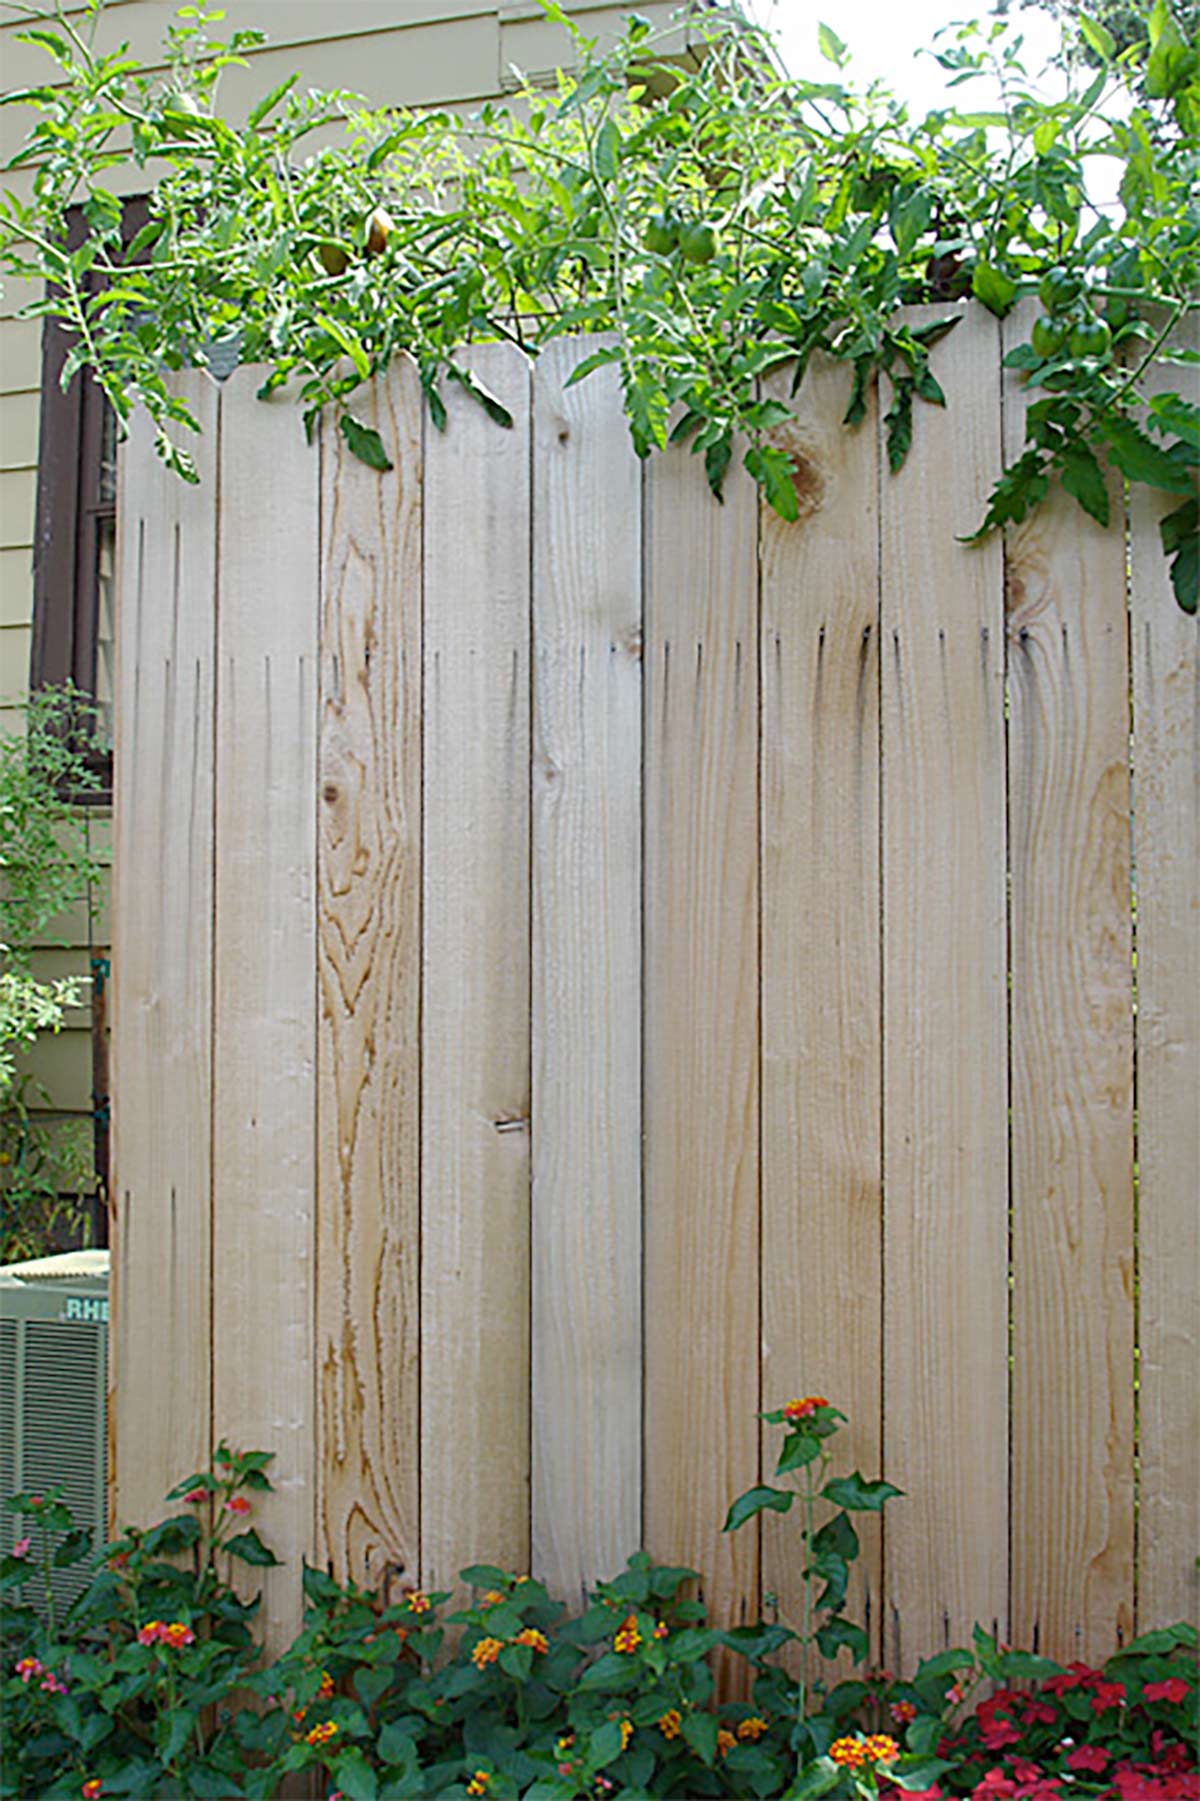
Be warned that indeterminate tomatoes can grow quite large in the right conditions. I’ve had plants reach over 15 feet tall — they topped a privacy fence and draped over the other side!

Make sure you can commit enough space to indeterminate tomatoes and provide adequate support for their long and heavy vines.
Determinate tomatoes grow to a limited height and basically flower, fruit, and ripen all at once. Determinate varieties are great if you want a more compact plant. They’re also necessary if you’re preserving your tomatoes, such as growing Roma tomatoes for canning tomato sauce — you’ll need large quantities of ripe tomatoes to make your sauce.
Both cherry tomatoes and standard tomatoes are available in indeterminate and determinate varieties.
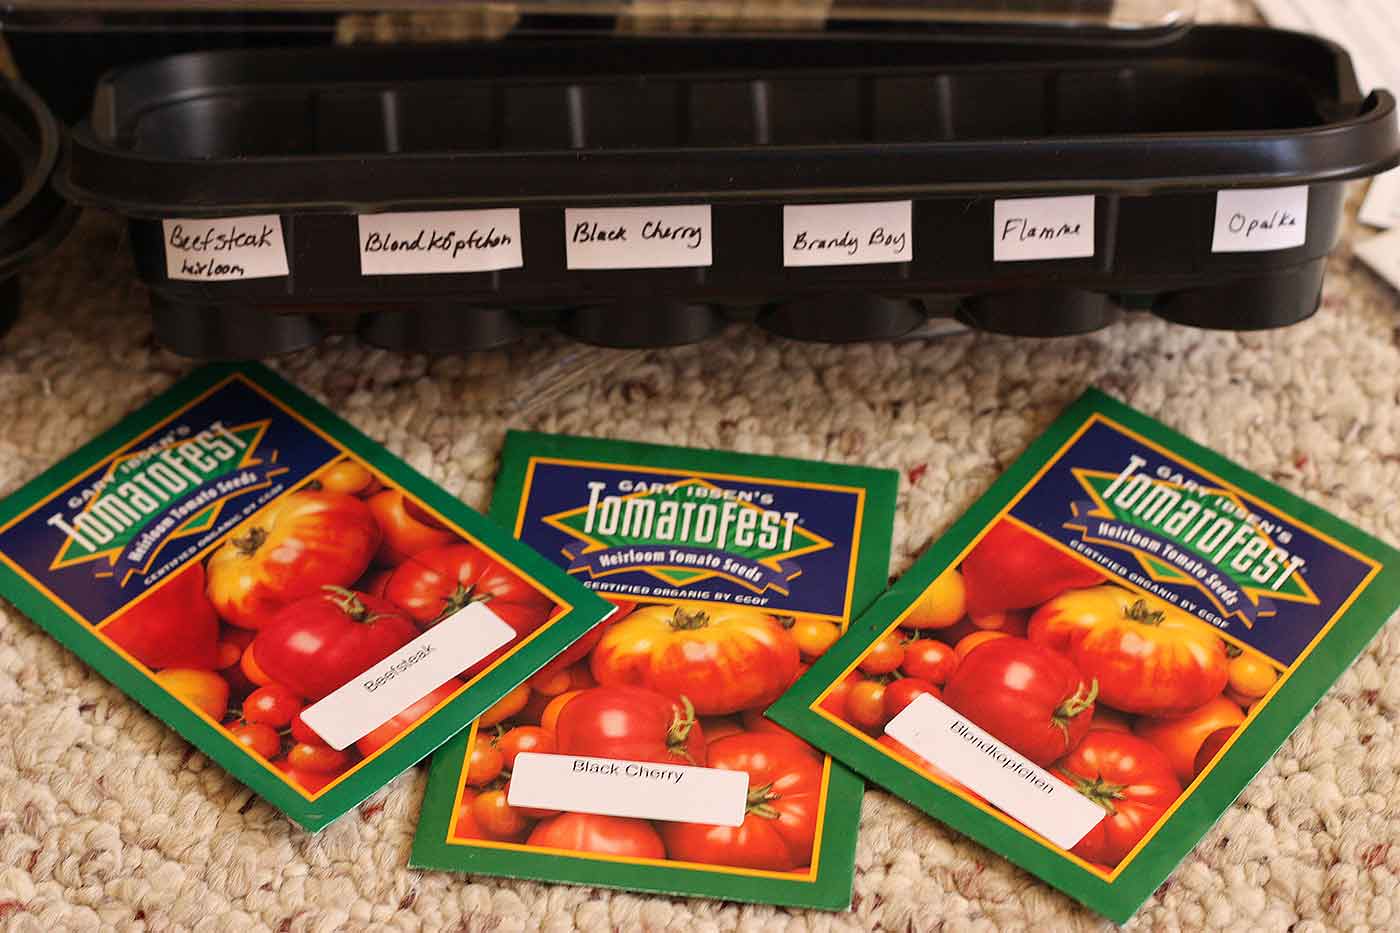
There are many, many sources for tomato seeds, including the big online U.S. sellers, such as Baker Creek Heirloom Seeds, Burpee, Botanical Interests, Seed Savers Exchange, and also tomato specialists such as Tomato Fest.
In the spring, you can also find tomato seeds at big box retailers, such as home improvement stores, and even Kroger and Target.
Step 2: Gather Your Supplies
To start tomato plants from seeds indoors, you’ll need a few supplies. Most of what you’ll you can find at any nursery or home improvement store. (Note that garden centers that are open only seasonally might not yet be back in business by March or April.) Some equipment, such as grow lights and heating mats, you might need to order online, but they’ll last for many years!
The list below matches my own seed starting setup.
Grow lights: Choose full-spectrum LED grow lights, which provide the right wavelengths of light for healthy plant growth. I have a couple of these adjustable tabletop lights that sit quite sturdily on a side table in my finished attic. The ability to adjust the lights up and down as your plants grow is fairly important, as you’ll want to provide the proper lighting during their entire growth cycle.
Timer: Once sprouted, tomato seedlings should receive about 16 hours of intense light per day. Plugging the grow lights into a timer is an easy, hands-off way for making sure that your seedlings grow in an optimal light/dark cycle. You don’t need anything fancy: just a 24-hour unit like this one.
Heat mat: Most homes are not sufficiently warm and humid in the spring to support robust seed germination. A simple heat mat is invaluable for successful plants. These water-resistant mats maintain a steady temperature about 10ºF warmer than your ambient room temperature and provide cozy surroundings for your seeds to do their thing.
The heat mat should be on 24 hours a day, so no need to plug it into the timer.
Seed starting trays: I vastly prefer these types of domed trays to any other arrangement (and I’ve tried them all!). The seed compartments are easy to manage, arrange, and move, and the domes fit securely and keep the interior warm and humid. While you don’t technically need a dome, I think they contribute to faster germination.
Without a dome, soil under the grow lights will dry out quickly, and you’ll have to be diligent about keeping everything properly watered, every day: The soil should never dry out.
While these domed trays come in a variety of sizes, I personally prefer the 2×4 trays. For one thing, I can easily reposition these trays as needed — e.g., swap all the trays around under the grow lights so that the seedlings don’t lean too far to one side as they reach for light.
For another, I apply masking tape to the sides of the trays and label each cell with the tomato variety in a permanent marker.

I don’t grow more than 2 or 3 of the same variety of tomatoes in a year, so I need to be able to label each cell, not just the entire tray. (Although, the larger 4×4 trays are great for large crops of a single plant, like Genovese basil.)
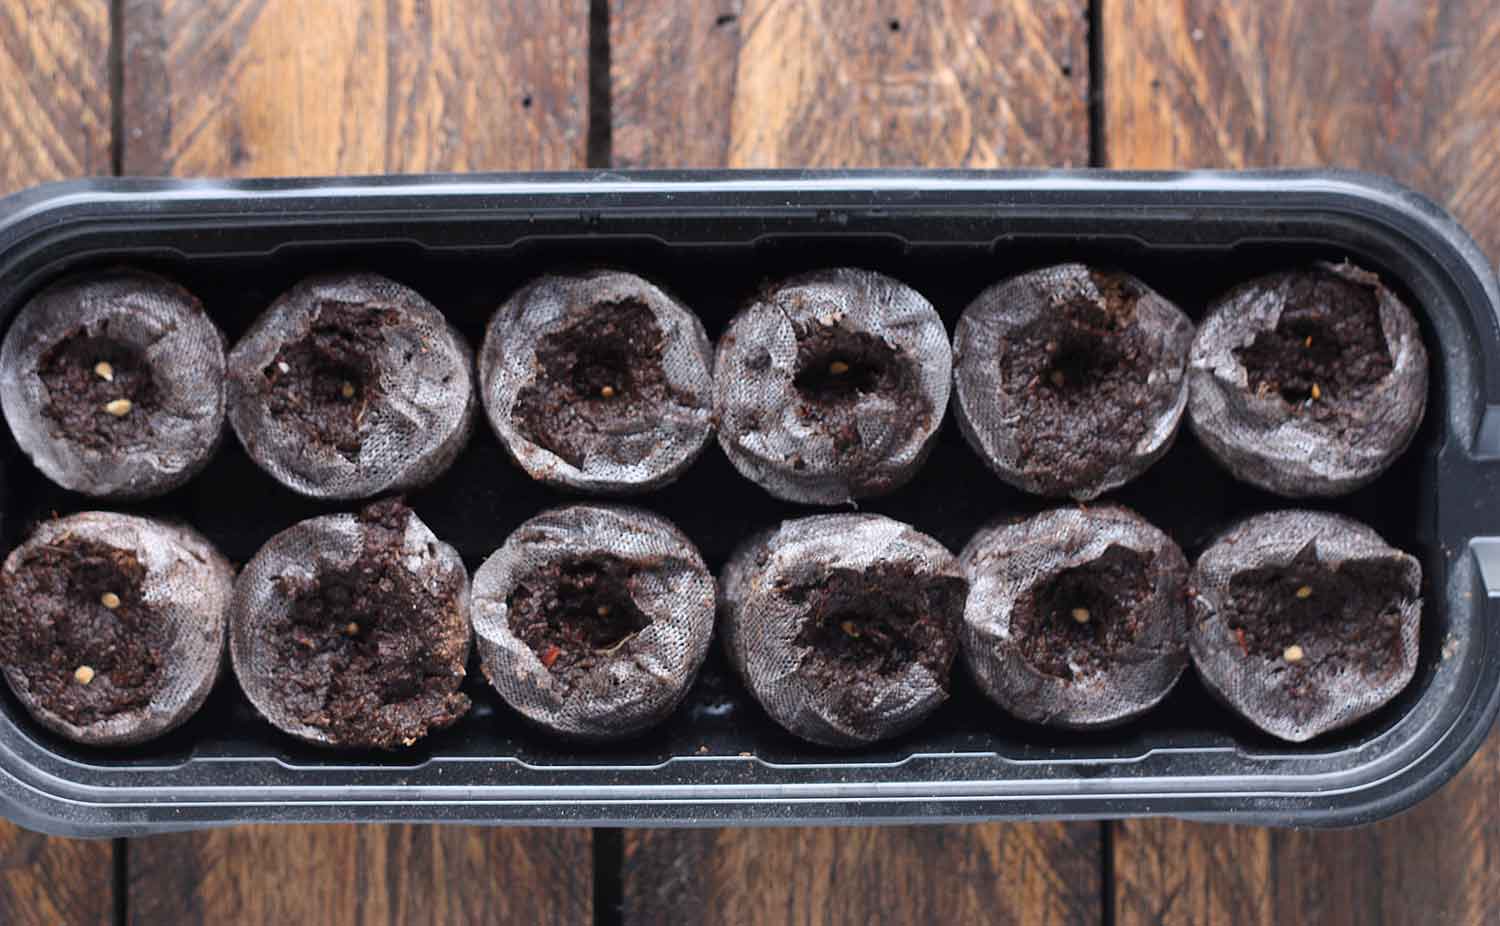
I’ve also used netted coir pellets, which are compressed plugs of soil that expand in water, with the net around them forming a sort of pot. They’re convenient to use and store, and don’t go bad or mold up as quickly as soil.

Small, 4″ pots: One important element of a successful outdoor transplant is making sure that your tomato plants are strong, healthy, and large enough to bury deep into the soil.
Fun fact: tomato plants will sprout roots along any part of their stems if they’re buried in soil. So, the more of the central stem that you can place underground at planting, the stronger and larger the root system will be to nourish the plant and its fruit.
You can most easily accomplish this if you transplant your tomato seedlings into a larger pot, weeks before moving them outside, to give them a chance to grow a strong central stem with a healthy root system. I know it’s a pain. I know it seems like an extra step. But when your plants are producing ripe tomatoes before July 4th, you’ll be glad you did.
You don’t need anything fancy; the inexpensive plastic pots or peat pots at the store will do just fine.
Seed starting soil or a light potting soil mix: veteran gardeners get fussy about their soil, and I get it. The control freak in me likes to get controlly, too. But to be honest about it, I’ve successfully sprouted seeds in just about every soil medium there is. And while some are better than others, they all worked for me. So, don’t hesitate to just grab the bag of seed starting mix at the store, and feel good about it.
Step 3: Sow the Seeds
Fill the seed starting trays with soil, leaving about a 1/4″ space at the top (to prevent water overflow). Now you have a choice to make:
- if your goal is just a few plants from each variety, sow two seeds per cell. You’ll remove one of the seedlings if both germinate. This is to hedge your bets that you’ll end up with enough viable tomato plants.
- if you’re growing a large number of the same variety, you can plant one seed per cell, making sure you have a few extra cells to account for germination failure.
To sow the seed, poke a hole between 1/4″ and 1/2″ deep, drop in the seed, and smooth the soil over top. Lightly tamp down the entire cell so that the block is firm and smooth.
Water the cells with a gentle trickle until thoroughly moistened. Set the seedling trays on the heat mat and affix the domes, if using.
Although buried seeds will not, of course, need light, it’s a good idea to go ahead and set up your grow lights now. As soon as sprouts begin to poke through the surface — often they look like a tiny little loop, as the bent-over stem is pulling itself out of the soil — position the lights about 3-4 inches above the soil surface and set the timer for 16 hours per day.
Keep the heat mat going at all times.
Step 4: Caring For Seedlings
If you sowed more than one seed per cell or pot, remove the weaker-looking seedling by gently pulling it straight up, taking care not to disturb the other seedling. Tomato plants are heavy feeders in their early days, so don’t try to grow two plants in one cell or pot.
You can continue to use the domes while the seedlings are tiny, but you won’t need them once the seedlings no longer fit underneath.
Maintain consistent moisture levels in the soil: it should be damp, but not puddled. Inspect your seedlings at least once daily to make sure the soil doesn’t dry out completely (especially once the domes come off).
Adjust the height of your grow lights as your tomato plants grow, keeping them about 2-3 inches above the plant canopy at all times. This will help ensure that your plants get the right amount of light to grow strong and healthy.
Step 5: The First Transplant
Once your tomato plants have grown to 4-5 inches tall, they should be transplanted to a small pot, to both refresh the soil and allow their roots to expand.
To transplant, gently remove them from their pots, being careful not to disturb or break the roots. Use new potting soil mix to fill the pots, and bury the roots completely. Water thoroughly and return them to their spots under the grow lights. Adjust the grow lights so that they hover about 3″ above the tallest seedling.

Your seedlings will grow very fast at this point, so be prepared to continue raising the lights or move them to a bright window.
Step 6: Hardening Off to Plant Outside
Tomatoes are cold-sensitive, so you’ll need to keep them indoors until overnight temps remain in the upper 50s. (Note that you can plant them outdoors sooner if you cover them or protect them from low temps, but that’s information for another article!)
In any event, you need to help the plants adjust to the change from their cozy, warm environment under the grow lights to the chilly weather outdoors.
The easiest way to do this is to set them outside in the mornings in the shade for a few days. Then for a few hours each day in the sun. This process is called hardening off.

There isn’t a visible signal to tell you that the plants are ready to go in the ground, but if they’ve spent some time outdoors without negative effect, and the daily low temps are in the upper 50s or above — and you’re not getting crazy levels of spring rain — you should be good to go!

Growing tomatoes from seeds is highly satisfying and the reward for the fairly low spring effort is a bounty of beautiful, unique, and tasty homegrown tomatoes!


 Welcome! I'm Karen, Chief Gardener, Tool Cleaner, Tomato Pruner, and Cabbage Worm Picker-Offer.
Karen, would you consider writing an article on basic soil, with crop rotation and crop pairing tips as well as soil management? Whether or not an expert, your garden harvest and your writing skill pertaining to the topic would be beneficial to many readers. Appreciate your consideration.