
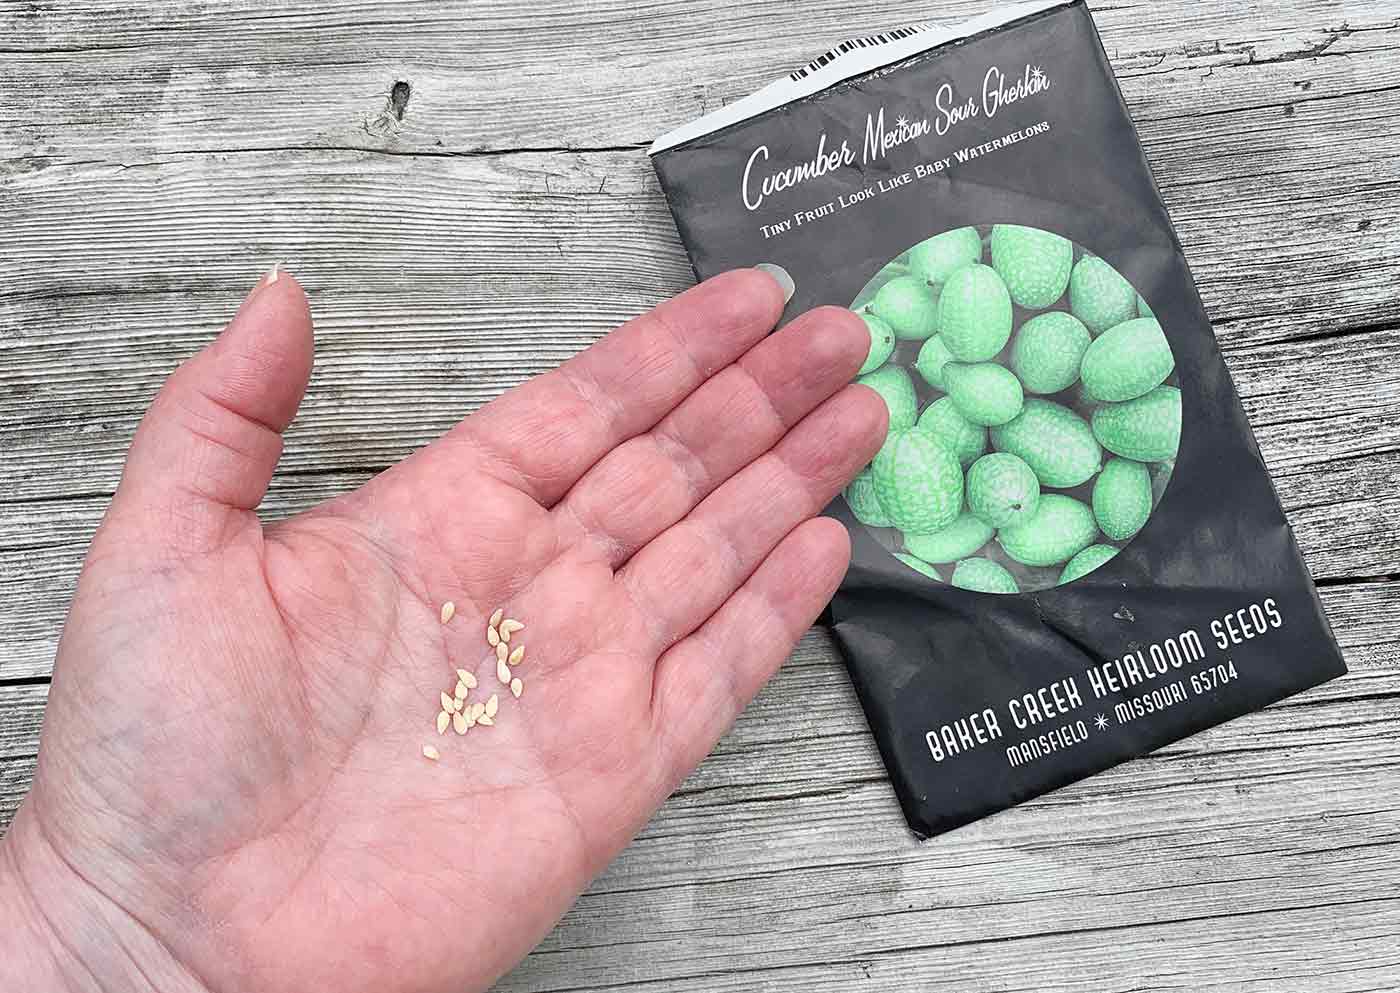
Learn how to grow and care for the cucamelon plant, also known as Mexican sour gherkins (botanical name Melothria scabra). This attractive, vining vegetable produces small fruit that resembles a watermelon on the outside, but a cucumber on the inside. It has a cucumber flavor with a pop of citrus.

The cucamelon is an example of why nature is so grand. So much character stuffed into an adorable package!
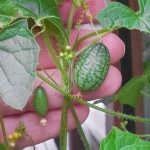
The cucamleon is a distant cousin of the cucumber, about the size of a grape tomato. The beautiful, watermelon-like markings on the outside set the expectation that the insides will be bright pink when sliced into.
What you find instead is a cucumber interior, complete with seeds. The flavor is refreshing: a combination of crisp cucumber with a zing of lime juice.

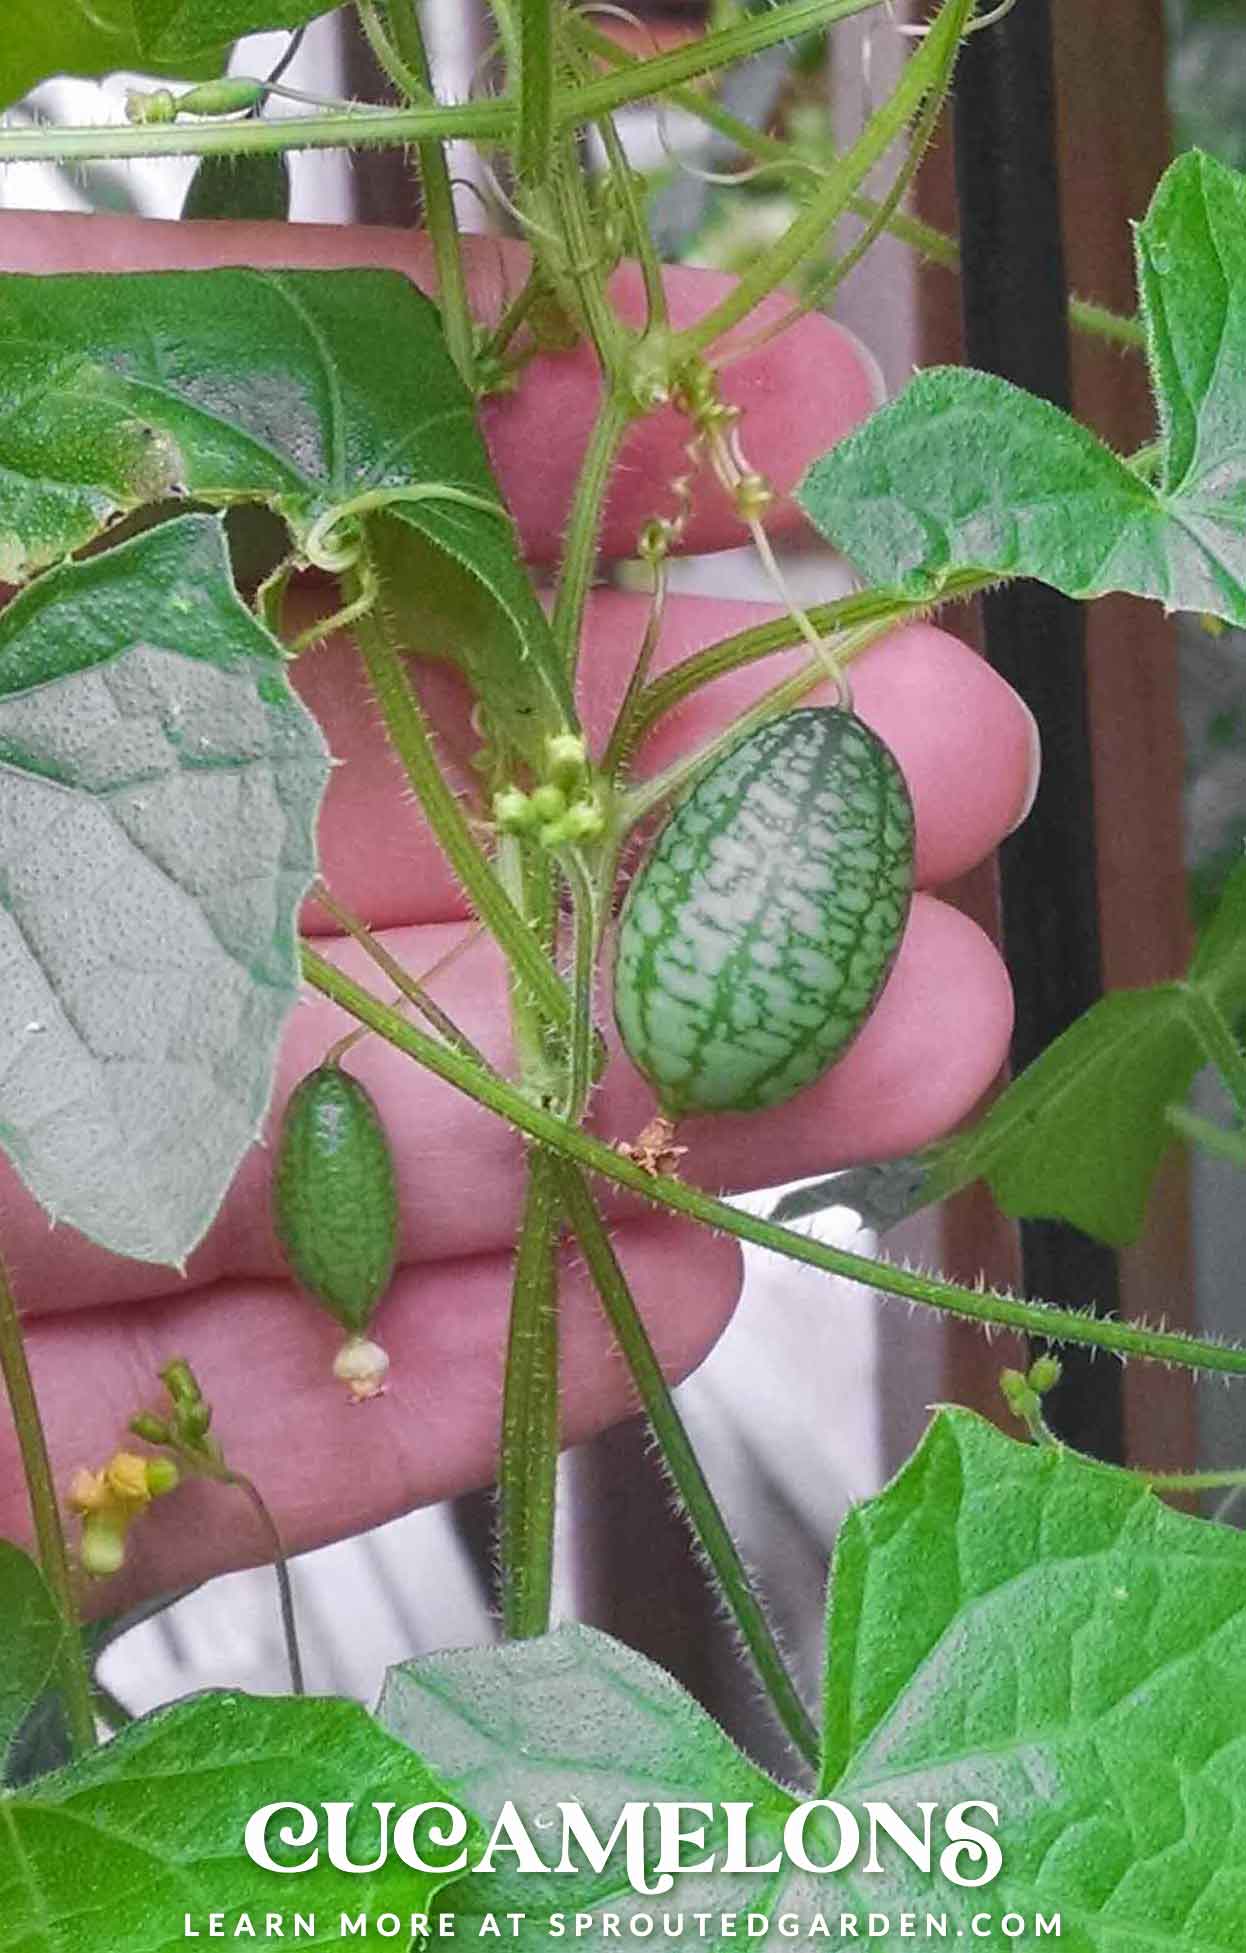
They’re prolific viners, like cucumbers, and feature slender, spiky vines and outsized heart-shaped leaves. Yellow flowers are tiny and numerous, and the crop is abundant.
How to start cucamelons from seed
I have yet to see cucamelons offered as plants for sale by a brick-and-mortar garden center or nursery, so your best bet is to plan to grow them from seed.
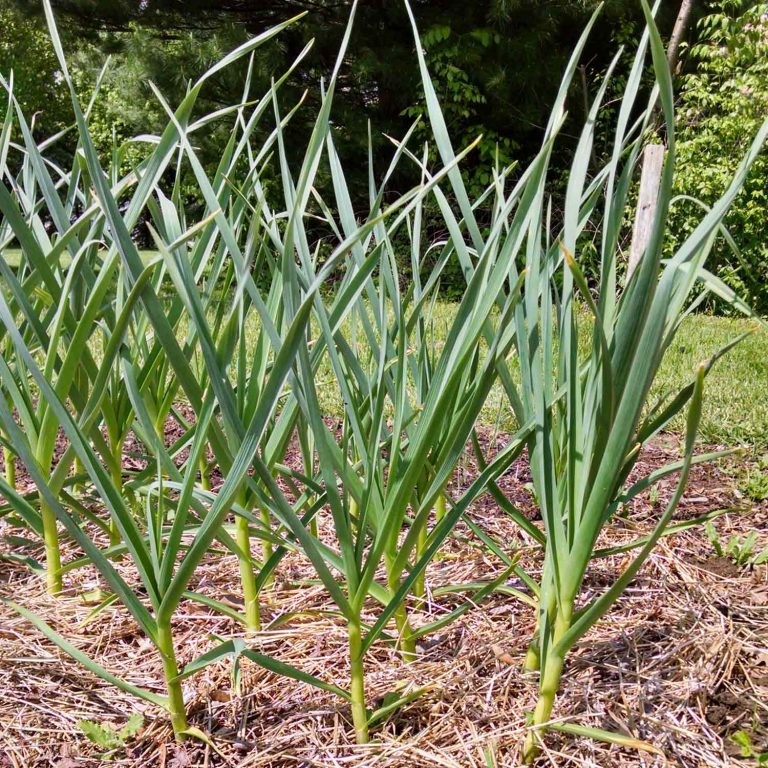
Cucamelons thrive in either the ground or in containers. I prefer containers because their vines are slender and a bit fragile, and it’s easier for the plants to send their vines trailing downward out of a container rather than trying to crawl upwards on a trellis.
Plus, they’re slow growers, so the protection provided by a container environment lets them get their footing faster, especially in the spring, when storms and wild wind can wreak havoc on seedlings.
I usually grow them in rectangular window boxes on my deck rail, where they trail attractively, creating a wall of beautiful vines and sweet little fruits. The photos in this post are from a long window box on my deck, growing on the other side of a cherry tomato plant in a container.
If sowing seeds directly outdoors, definitely wait until the days and nights are well above 50ºF. Sow in loose, composted soil, about 1/2″ deep.

If starting indoors, sow the seeds in a small pot with seed starting mix, about 1/2″ deep. If possible, choose a set-up where you can dome the pots, holding moisture within until the seeds sprout.
A warming seed mat is very handy, as it will encourage faster sprouting. The seeds above sprouted in 5 days:

This is another advantage of starting the seeds indoors: in the years where I started the seeds outside in their permanent container, it took more than two weeks for the seeds to sprout. It’s harder to maintain optimal moisture levels during variable spring weather.
Once sown, keep the soil medium moist, but not soaking wet. Without a dome over the seeds, you’ll probably need to water the pots every day.
The seedlings will be ready to transplant when they have their first true leaves. Take care not to disturb the soil around their roots. I take the pots above, cut off the bottoms (so that young roots don’t have to struggle to break through the walls) and plant the entire pot in the container. The plants will vine over the side anyway, so their configuration in the container doesn’t really matter.

Avoid moisture control soil mixes, unless you live in a very hot and dry climate. Most vegetables do not like to have constantly wet feet, and that type of soil never dries out. Plus, it molds readily in humid climates.
Instead, mix a bit of compost in with regular potting soil, and just stay on top of watering, especially while the plants are young.

Take extra care when first transitioning seedlings from an indoor environment to outside. This year (2020) had a particularly hot spring and it took my plants quite a while to get used to the blazing sun.
Give your young plants several hours of late morning sun exposure before moving them back into the shade during the heat of the afternoon. Shiny spots on leaves indicates sunburn. Take your time. The plants in the photo above were particularly grumpy early on, but they’re now thriving in full sunlight.
How to care for cucamelons
When the plant begins vining, fertilize every other week or so with a fertilizer for vegetables. No need to get fancy with N-P-K ratios, unless you know your soil is particularly acidic (and then go for a high nitrogen blend).
Keep the plants well-watered throughout the growing season. You might have to water them every day during hot, dry stretches.

Cucamelons are a beautiful and unusual crop to grow in your vegetable garden, with fruits you can eat right off the vine.
Try cucamelons in salads, as crudite, and chilled for refreshing afternoon snacks. I pickle them, too!


They look wonderful in your planter? How many plants do you grow in there? I’m courious about spacing them properly. Thank you
There were 10 plants in that container. You can space them fairly close together – say, 3″ apart – because the plants at soil level are not particularly bushy for very long. They stretch out into vines fairly quickly. The photo with the vines over-hanging the pot was taken in July, mid-growing season. The waterfall of vines gets fuller and quite lovely.
Love your site. I,m a older gardener so must try my Mexican Cucumbers. Yes ook like watermelon which I dont have room. I have a 5- 6ft trellis that has 4 narrow sides that I folded so I want to try this for my NEW Year. Mn susan
Hi Susan,
They’re cute, they’re tasty, and they’re fun to grow. I think you’ll enjoy them!